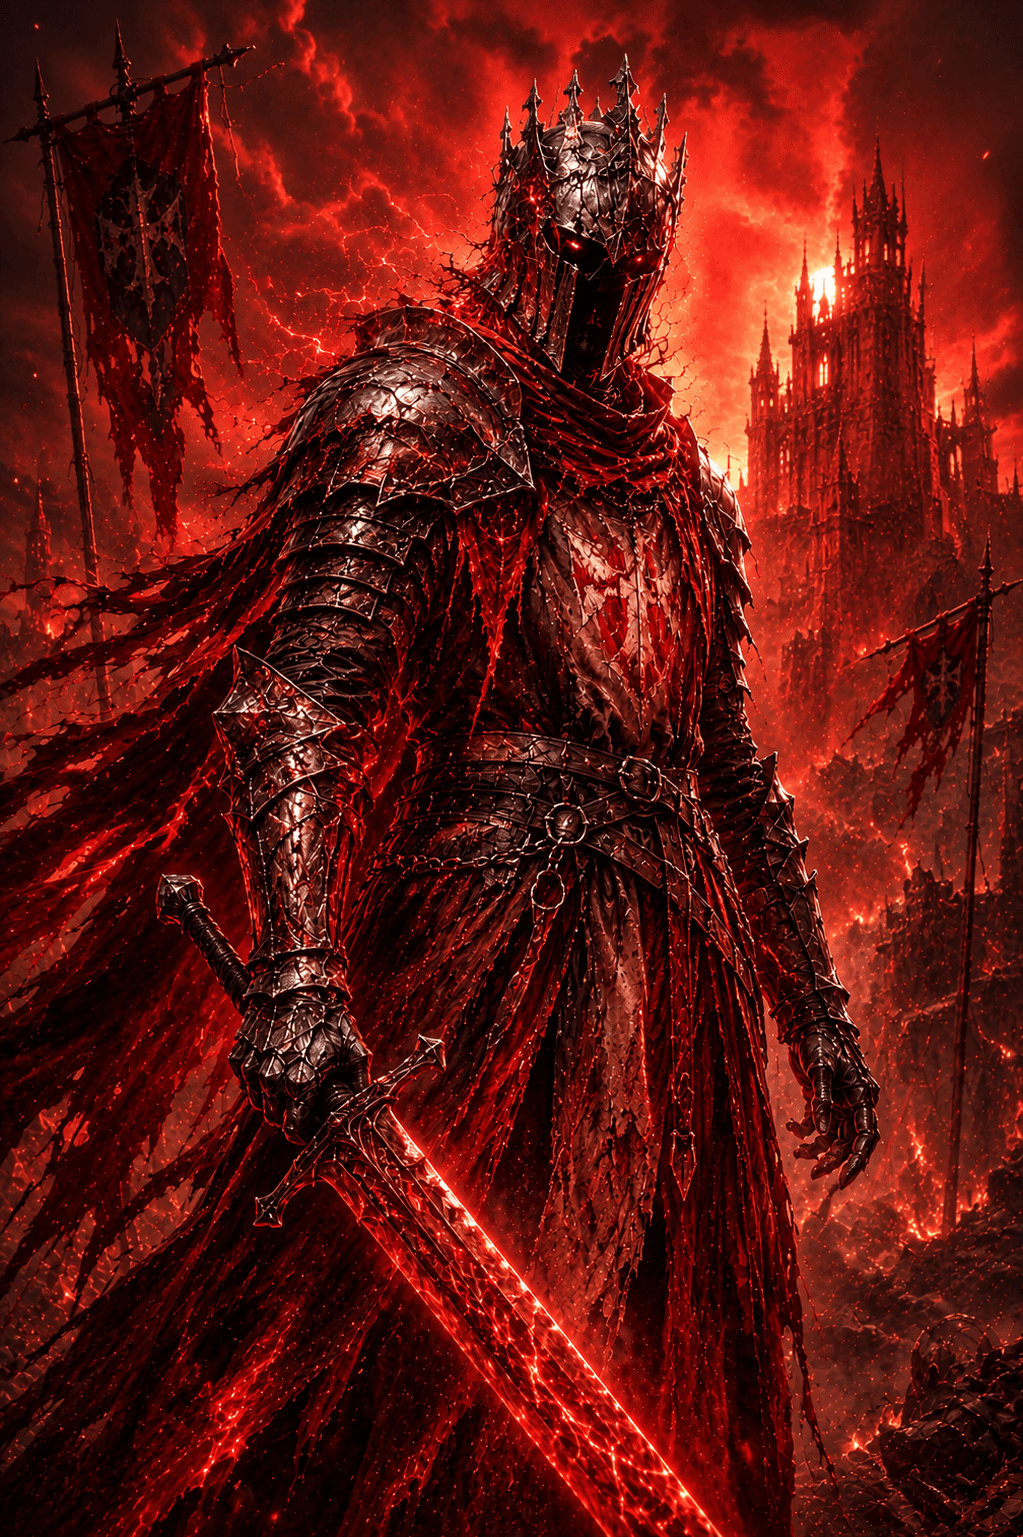
 Withered KnightPvEOfficialUp to Date
Recommended Beginner Setup — Polearm and Shield
Bellring Games' official beginner-friendly Withered Knight setup: Spear Barrage, Javelin Thrust, and Breaker Shield Bash backed by Rising Morale, Momentum Shift, and Shield Wall Slam talents.
Skills
Greatsword
Basic
 Light Strike
Light Strike: three-hit combo; each hit charges your weapon. When fully charged, the weapon enters Judgment. The next light strike will apply Wither to the enemy.
 Heavy Strike
Heavy Strike: turn and thrust your weapon upward. Can be charged to release: dash forward and strike twice. All heavy strikes can execute Wither you've applied.
 Opportunistic Thrust
After dodging, immediately use the button to branch into a light strike: dash forward slightly while swinging your sword to attack.
 Sprinting Slash
After dodging forward, immediately use the button to branch into a heavy strike: leap forward while spinning to swing your weapon. After dodging backward, immediately use the button to branch into a heavy strike: perform a counterattack while stepping back. Both heavy strike branches can execute enemies affected by Wither.
 Pursuit
After any heavy strike, you can use the button to branch into a light strike: rapidly swing your weapon to perform two slashes.
Polearm and Shield
Basic
 Light Strike
Alternate between spear thrusts and horizontal sweeps. Each hit charges your weapon. When fully charged, the weapon enters Judgment. The next light strike will apply Wither to the enemy.
 Charged Dash
Raise your shield to block frontal attacks. You can hold to maintain the shield stance while charging the skill up to 3 levels, before initiating a forward dash attack. Lv.1 Charge: Dash forward with your shield raised to ram enemies. Lv.2 Charge: Gain Super Armor; increase the dash distance and follow up with an additional thrust. Lv.3 Charge: Gain Super Armor; increase the dash distance and follow up with a more powerful leaping thrust.
Selected Skills
 Spear Barrage
Rapidly thrust your spear forward, following up with a powerful thrust that knocks the enemy down. Successful hits charge your weapon with Judgment energy.
 Javelin Thrust
Hurl your spear forward, immediately applying Wither to the target. Upon impact, rapidly leap to the target and pull out the spear with a sweeping strike to deal damage.
 Breaker Shield Bash
Strikes the back of the shield with a fist to deal damage to targets within a wide frontal area, immediately applying Wither. Possesses a Block property while the shield is raised.
Talents
Affixes
Stoic
When Health is below 50%, increase Physical Resistance and Magic Resistance. Upon reaching a certain level, when Health is below 30%, restore Health. Cooldown: 120s.
Lv.1 Physical Resistance +1.1%. Magic Resistance +1.1%.
Lv.2 Physical Resistance +2.2%. Magic Resistance +2.2%.
Lv.3 Physical Resistance +3.3%. Magic Resistance +3.3%.
Lv.4 Physical Resistance +4.4%. Magic Resistance +4.4%.
Lv.5 Physical Resistance +5.5%. Magic Resistance +5.5%. Restores 15% Health.
Lv.6 Physical Resistance +6.6%. Magic Resistance +6.6%. Restores 15% Health.
Lv.7 Physical Resistance +7.7%. Magic Resistance +7.7%. Restores 15% Health.
Tenacious
Increases Maximum Health. Upon reaching a certain level, increases Healing.
Lv.1 Maximum Health +1.8%.
Lv.2 Maximum Health +3.6%.
Lv.3 Maximum Health +5.4%.
Lv.4 Maximum Health +7.2%.
Lv.5 Maximum Health +9%. Healing +7.5%.
Lv.6 Maximum Health +10.8%. Healing +7.5%.
Lv.7 Maximum Health +12.6%. Healing +7.5%.
Wrath
When Health is below 50%, increase Physical Damage and Magic Damage. Upon reaching a certain level, when Health is below 50%, increase Attack.
Lv.1 Physical Damage +2.1%. Magic Damage +2.1%.
Lv.2 Physical Damage +4.2%. Magic Damage +4.2%.
Lv.3 Physical Damage +6.3%. Magic Damage +6.3%.
Lv.4 Physical Damage +8.4%. Magic Damage +8.4%.
Lv.5 Physical Damage +10.5%. Magic Damage +10.5%. Attack +3%.
Lv.6 Physical Damage +12.6%. Magic Damage +12.6%. Attack +3%.
Lv.7 Physical Damage +14.7%. Magic Damage +14.7%. Attack +3%.
Strife
Increases Melee Weapon Damage. Upon reaching a certain level, increases Melee Weapon Damage for each nearby enemy, up to 3 stacks.
Lv.1 Physical Damage +1.2%. Magic Damage +1.2%.
Lv.2 Physical Damage +2.4%. Magic Damage +2.4%.
Lv.3 Physical Damage +3.6%. Magic Damage +3.6%.
Lv.4 Physical Damage +4.8%. Magic Damage +4.8%.
Lv.5 Physical Damage +6%. Magic Damage +6%. Physical Damage per stack +2%. Magic Damage per stack +2%.
Lv.6 Physical Damage +7.2%. Magic Damage +7.2%. Physical Damage per stack +2%. Magic Damage per stack +2%.
Lv.7 Physical Damage +8.4%. Magic Damage +8.4%. Physical Damage per stack +2%. Magic Damage per stack +2%.
Resilience
Reduces the duration of debuffs received. Upon reaching a certain level, suffering a crowd control debuff temporarily increases your Physical Resistance and Magic Resistance. Crowd Control Debuffs: Crowd control debuffs include Stunned, Frozen, Immobilize, and Dodge Distance Reduction.
Lv.1 Debuff Duration -5%.
Lv.2 Debuff Duration -10%.
Lv.3 Debuff Duration -15%.
Lv.4 Debuff Duration -20%. Physical Resistance +10%. Magic Resistance +10%.
Lv.5 Debuff Duration -25%. Physical Resistance +10%. Magic Resistance +10%.
Guide
Overview
Bellring Games' official recommended beginner setup for Withered Knight's Polearm and Shield branch, shared via the Mistfall Hunter Discord. It pairs Spear Barrage, Javelin Thrust, and Breaker Shield Bash with the Core Archetype and enhancement talents.
Skills
- Spear Barrage
- Javelin Thrust
- Breaker Shield Bash
Official Class Guide
The Withered Knight's combat revolves around applying Wither and triggering it through heavy attacks and certain skills. When Wither is detonated, it deals damage, restores Energy, and reduces cooldowns, creating a rhythm built around marking, striking, and following up. With attacks, parries, and guidance-based skills, the Withered Knight steadily builds pressure while turning each opening into a chance to continue the assault.
Solo vs Trio
This branch is one of the few the community explicitly describes as working equally well solo and in trios — solo, you rely on confirmed combos (Breaker Shield Bash into a wall, then a double-dash charge to engage and pop Wither) to punish one target at a time; in trios, the same tools shift toward keeping the team alive while fishing for a Javelin Thrust wall-stun combo that can end a fight outright with team follow-up.
Common Mistakes
- Switching to Greatsword mid-fight and staying there too long — damage reduction drops sharply without Polearm and Shield out, so the swap should be a quick punish, not a stance change.
- Attempting the wall-stun combo without being close enough to a wall — combo timing tightens the closer the enemy already is, and low-ping enemies can escape a loose setup.
- Neglecting Breaker Shield Bash's utility (Wither + slow + reduced dodges) in favor of chasing damage — that utility is what sets up the rest of the combo.
Source
Posted as a "Recommended Beginner Setup" graphic in the official Mistfall Hunter Discord by Bellring Games.
Comments (0)
Got thoughts on this build?
Sign in to join the conversation.
No comments yet. Be the first to share your thoughts!

Contents