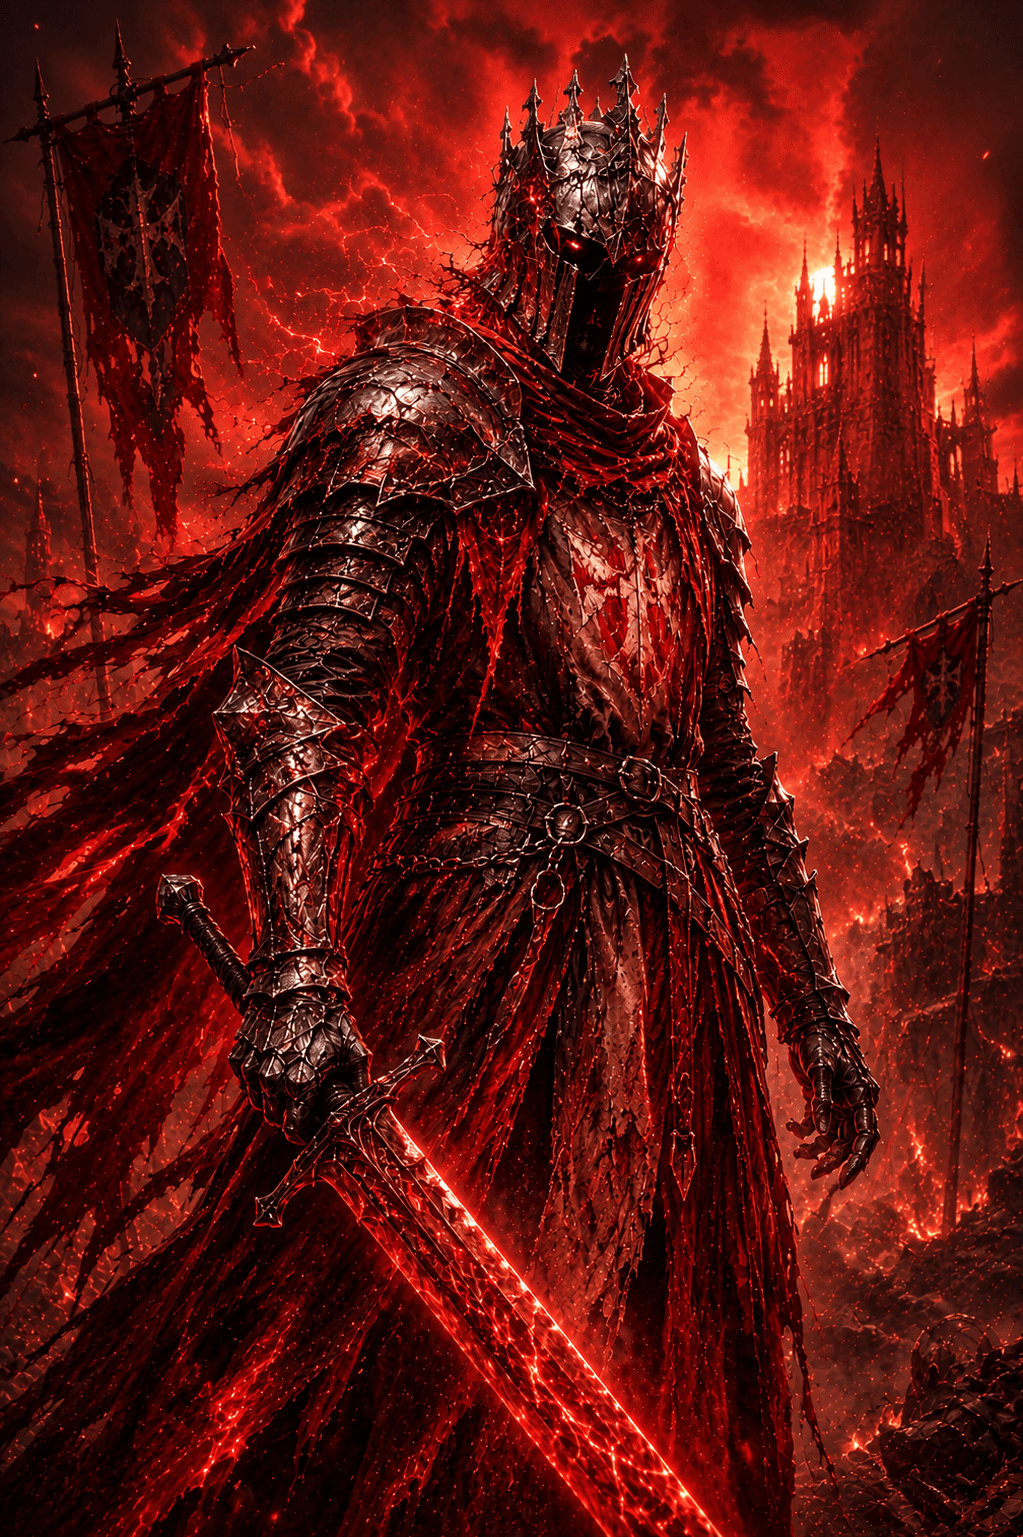
 Withered KnightHybridUp to Date
The Wall-Lock Juggernaut
A wall-locking juggernaut that uses constant shield pressure and chain-stuns to drain enemies dry before they can even strike back.
Item Set Import Codes
Skills
Greatsword
Basic
 Light Strike
Light Strike: three-hit combo; each hit charges your weapon. When fully charged, the weapon enters Judgment. The next light strike will apply Wither to the enemy.
 Heavy Strike
Heavy Strike: turn and thrust your weapon upward. Can be charged to release: dash forward and strike twice. All heavy strikes can execute Wither you've applied.
 Opportunistic Thrust
After dodging, immediately use the button to branch into a light strike: dash forward slightly while swinging your sword to attack.
 Sprinting Slash
After dodging forward, immediately use the button to branch into a heavy strike: leap forward while spinning to swing your weapon. After dodging backward, immediately use the button to branch into a heavy strike: perform a counterattack while stepping back. Both heavy strike branches can execute enemies affected by Wither.
 Pursuit
After any heavy strike, you can use the button to branch into a light strike: rapidly swing your weapon to perform two slashes.
Selected Skills
 Breakthrough Charge
Can perform a two-stage dash attack. Stage 1: Thrust forward with your sword. During the recovery, press the buttons to perform a branch attack (second stage). Stage 2 Left Branch: Dash in a leftward arc, sweeping enemies and knocking them back to the right. Stage 2 Right Branch: Dash in a rightward arc, sweeping enemies and knocking them back to the left.
Polearm and Shield
Basic
 Light Strike
Alternate between spear thrusts and horizontal sweeps. Each hit charges your weapon. When fully charged, the weapon enters Judgment. The next light strike will apply Wither to the enemy.
 Charged Dash
Raise your shield to block frontal attacks. You can hold to maintain the shield stance while charging the skill up to 3 levels, before initiating a forward dash attack. Lv.1 Charge: Dash forward with your shield raised to ram enemies. Lv.2 Charge: Gain Super Armor; increase the dash distance and follow up with an additional thrust. Lv.3 Charge: Gain Super Armor; increase the dash distance and follow up with a more powerful leaping thrust.
Selected Skills
 Sacred Bulwark
Infuse the shield with sacred energy to erect a massive energy barrier, during which you cannot move or turn. This barrier completely blocks frontal attacks and prevents enemies from passing through. The skill can be cast again to thrust the shield forward, dealing damage and knocking enemies back. The energy barrier shatters after blocking attacks with impact a certain number of times.
 Javelin Thrust
Hurl your spear forward, immediately applying Wither to the target. Upon impact, rapidly leap to the target and pull out the spear with a sweeping strike to deal damage.
 Breaker Shield Bash
Strikes the back of the shield with a fist to deal damage to targets within a wide frontal area, immediately applying Wither. Possesses a Block property while the shield is raised.
Talents
Affixes
Vitality
Increases Maximum Energy. Upon reaching a certain level, when entering a state of Energy Overdraft, you become immune to that specific instance of Energy Overdraft. Cooldown: 60s.
Lv.1 Maximum Energy +5.
Lv.2 Maximum Energy +10.
Lv.3 Maximum Energy +15.
Lv.4 Maximum Energy +20. Immune to the current Energy Overdraft state.
Lv.5 Maximum Energy +25. Immune to the current Energy Overdraft state.
energy is a primary source of wither knight dmg
Elusive
Reduces Dodge Energy Cost.
Lv.1 Dodge Energy Cost Reduction +4%.
Lv.2 Dodge Energy Cost Reduction +8%.
Lv.3 Dodge Energy Cost Reduction +12%.
Lv.4 Dodge Energy Cost Reduction +16%.
Lv.5 Dodge Energy Cost Reduction +20%.
you will always be shield bashing which consumes dodge bar
Bulwark
Increase Block Damage Reduction Rate. Upon reaching the required level, reduce Block Energy Cost.
Lv.1 Block Damage Reduction Rate +6%.
Lv.2 Block Damage Reduction Rate +12%.
Lv.3 Block Damage Reduction Rate +18%.
Lv.4 Block Damage Reduction Rate +24%. Block Energy Cost Reduction +9%.
Lv.5 Block Damage Reduction Rate +30%. Block Energy Cost Reduction +9%.
your shield will always be up block reduction is necessary, block energy cost reduction you will always have your shield up
Valor
Increases Attack. Upon reaching a certain level, also increases Defense Penetration.
Lv.1 Attack +1.5%.
Lv.2 Attack +3%.
Lv.3 Attack +4.5%.
Lv.4 Attack +6%.
Lv.5 Attack +7.5%. Defense Penetration +1.8%.
Lv.6 Attack +9%. Defense Penetration +1.8%.
Lv.7 Attack +10.5%. Defense Penetration +1.8%.
Flat dmg is good
Fervid
When Health is above 70%, increase Physical Damage and Magic Damage. Upon reaching a certain level, when Health is above 70%, reduce Skill Energy Cost.
Lv.1 Physical Damage +1.8%. Magic Damage +1.8%.
Lv.2 Physical Damage +3.6%. Magic Damage +3.6%.
Lv.3 Physical Damage +5.4%. Magic Damage +5.4%.
Lv.4 Physical Damage +7.2%. Magic Damage +7.2%.
Lv.5 Physical Damage +9%. Magic Damage +9%. Skill Energy Cost Reduction +6%.
Lv.6 Physical Damage +10.8%. Magic Damage +10.8%. Skill Energy Cost Reduction +6%.
Lv.7 Physical Damage +12.6%. Magic Damage +12.6%. Skill Energy Cost Reduction +6%.
your hp will not go below 70% with this build it gives more dmg than valor, it also give energy skill cd reduction which is necessary for pole
Strife
Increases Melee Weapon Damage. Upon reaching a certain level, increases Melee Weapon Damage for each nearby enemy, up to 3 stacks.
Lv.1 Physical Damage +1.2%. Magic Damage +1.2%.
Lv.2 Physical Damage +2.4%. Magic Damage +2.4%.
Lv.3 Physical Damage +3.6%. Magic Damage +3.6%.
Lv.4 Physical Damage +4.8%. Magic Damage +4.8%.
Lv.5 Physical Damage +6%. Magic Damage +6%. Physical Damage per stack +2%. Magic Damage per stack +2%.
Lv.6 Physical Damage +7.2%. Magic Damage +7.2%. Physical Damage per stack +2%. Magic Damage per stack +2%.
Lv.7 Physical Damage +8.4%. Magic Damage +8.4%. Physical Damage per stack +2%. Magic Damage per stack +2%.
dmg goes up every hit free dmg, stacks crazy with all the bashing
Guide
Playstyle Overview: The Wall-Lock Juggernaut
This build is designed to be an aggressive, immovable frontline brawler. Your core philosophy is maximum uptime on guard and relentless crowd control. You do not let the enemy breathe or space you—you keep your shield raised, absorb incoming pressure, and force fights against obstacles where you have complete control.
Core Combat & Stance
Permanent Guard Pressure: You should almost always have your shield up between actions. You aren't just defending; you're looking for close-range openings to constantly apply Shield Bash.
Constant Disruption: Use Shield Bash on cooldown to interrupt enemy momentum, trade safely, and keep status effects ticking.
The Execution Combo Loop
When you find your opening or engage an enemy near terrain/walls, execute this lockdown combo:
Initiate with Javelin Thrust: Throw/thrust your Javelin to engage. Target enemies standing near walls or environmental hazards to land a wall-pin.
Wall-Knock & First Wither: The wall collision stuns the target and immediately applies your first layer of Wither.
Jump Right-Click (Shield Smash Execute): While they are stunned against the wall, leap and execute a Shield Smash. This capitalizes on your Burst affix for heavy chunk damage.
Shield Bash (Re-Apply Wither): Immediately follow up with a Shield Bash as they recover to apply Wither once again and prevent them from rolling away.
Bulwark Stun: Activate Bulwark to re-stun the target, extending your control window and completely resetting their ability to counter-attack.
Final Shield Bash & Finish: Close the gap with one last Shield Bash—with Wither ticking and your Strife/Valor damage scaled up, this final blow closes out the kill.
Why This Combo Works
Infinite Stun Lockdown: By chaining wall-knocks, Bulwark, and Shield Bashes back-to-back, the opponent has zero windows to counter-attack or heal.
Status & Affix Synergy: Opening with Wither softens their resilience pool, making your mid-combo Shield Smash Execute hit substantially harder thanks to your Burst affix.
Zero-Risk Trading: Because you transition directly from shield guard into hard CC, you take minimal damage while delivering full combo output.
Comments (0)
Got thoughts on this build?
Sign in to join the conversation.
No comments yet. Be the first to share your thoughts!

Contents