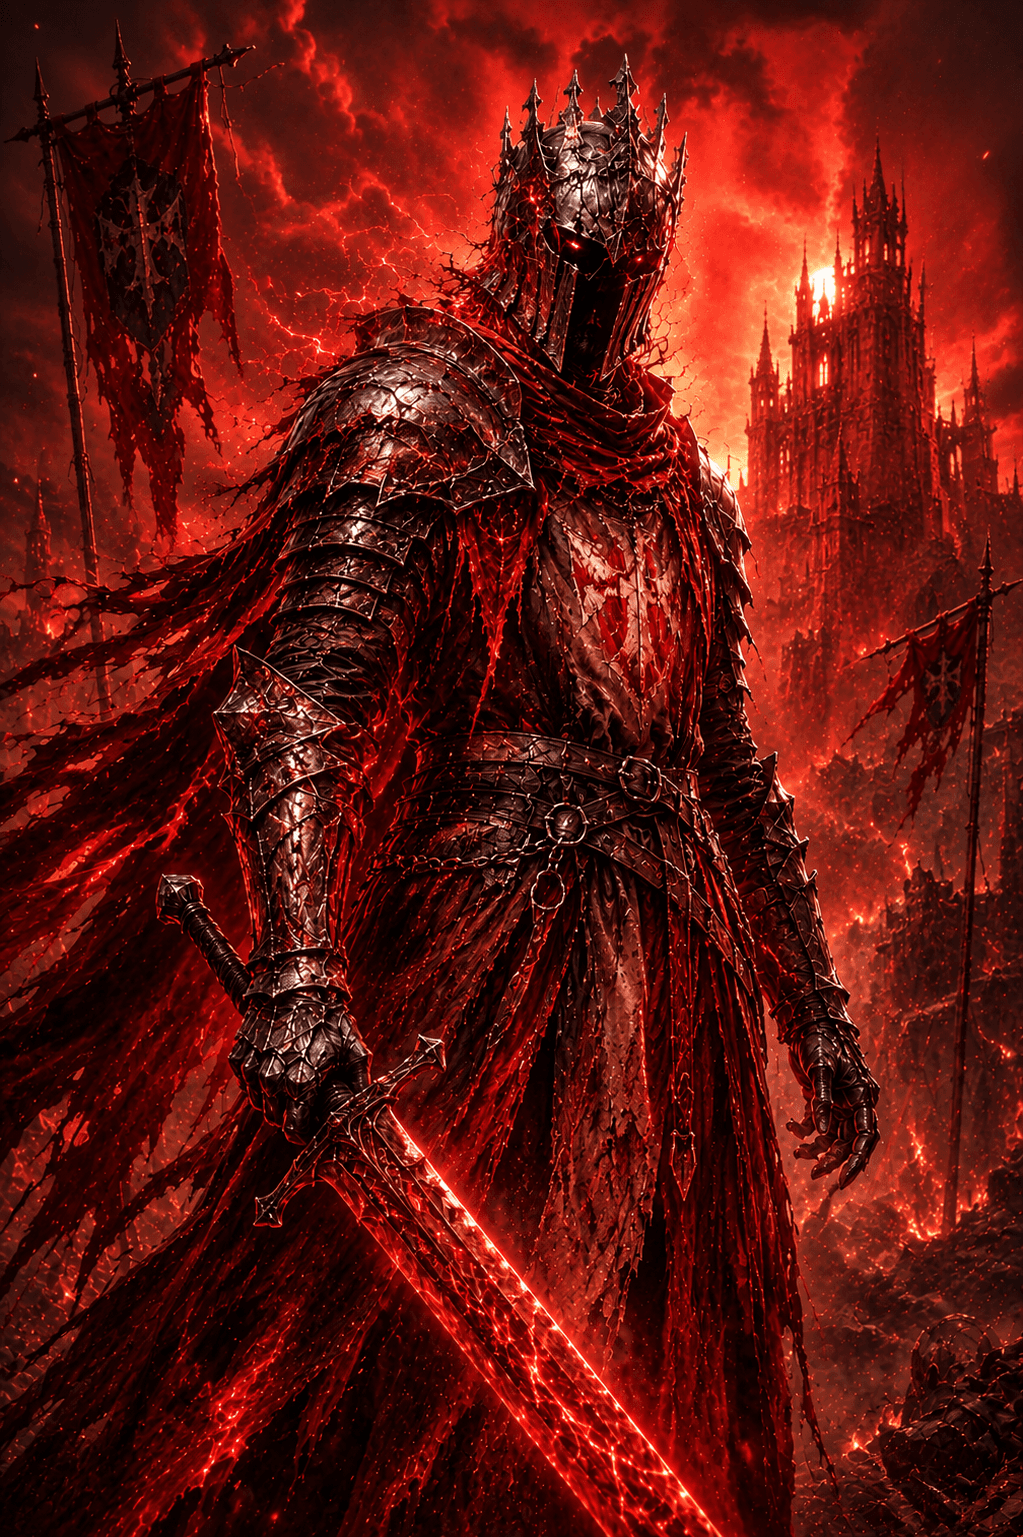
 Withered KnightSoloRecently Updated
PVP Solo mandoble
PVP Solo mandoble
Skills
Greatsword
Basic
 Light Strike
Light Strike: three-hit combo; each hit charges your weapon. When fully charged, the weapon enters Judgment. The next light strike will apply Wither to the enemy.
 Heavy Strike
Heavy Strike: turn and thrust your weapon upward. Can be charged to release: dash forward and strike twice. All heavy strikes can execute Wither you've applied.
 Opportunistic Thrust
After dodging, immediately use the button to branch into a light strike: dash forward slightly while swinging your sword to attack.
 Sprinting Slash
After dodging forward, immediately use the button to branch into a heavy strike: leap forward while spinning to swing your weapon. After dodging backward, immediately use the button to branch into a heavy strike: perform a counterattack while stepping back. Both heavy strike branches can execute enemies affected by Wither.
 Pursuit
After any heavy strike, you can use the button to branch into a light strike: rapidly swing your weapon to perform two slashes.
Selected Skills
 Breakthrough Charge
Can perform a two-stage dash attack. Stage 1: Thrust forward with your sword. During the recovery, press the buttons to perform a branch attack (second stage). Stage 2 Left Branch: Dash in a leftward arc, sweeping enemies and knocking them back to the right. Stage 2 Right Branch: Dash in a rightward arc, sweeping enemies and knocking them back to the left.
 Parry
ParryAssume a defensive stance to parry frontal attacks (negating damage), recovering Energy with each successful parry. This stance lasts up to 5s or until you parry 3 attacks, whichever comes first. Immediately after a successful parry, press the buttons to perform different branch attacks: one is a sweeping strike against enemies in front, while the other is a long-distance dash slash. Both branch attacks apply Wither on hit. Parry has a shorter base cooldown in trio mode.
 Radiant Retribution
Rapidly swing your greatsword, performing three wide slashes in quick succession. Each attack counts as a Light Strike, and hitting enemies charges your weapon. When fully charged, it applies Judgment to the target. The final strike has a brief Super Armor effect.
Polearm and Shield
Basic
 Light Strike
Alternate between spear thrusts and horizontal sweeps. Each hit charges your weapon. When fully charged, the weapon enters Judgment. The next light strike will apply Wither to the enemy.
 Charged Dash
Raise your shield to block frontal attacks. You can hold to maintain the shield stance while charging the skill up to 3 levels, before initiating a forward dash attack. Lv.1 Charge: Dash forward with your shield raised to ram enemies. Lv.2 Charge: Gain Super Armor; increase the dash distance and follow up with an additional thrust. Lv.3 Charge: Gain Super Armor; increase the dash distance and follow up with a more powerful leaping thrust.
Talents
Affixes
Stoic
When Health is below 50%, increase Physical Resistance and Magic Resistance. Upon reaching a certain level, when Health is below 30%, restore Health. Cooldown: 120s.
Lv.1 Physical Resistance +1.1%. Magic Resistance +1.1%.
Lv.2 Physical Resistance +2.2%. Magic Resistance +2.2%.
Lv.3 Physical Resistance +3.3%. Magic Resistance +3.3%.
Lv.4 Physical Resistance +4.4%. Magic Resistance +4.4%.
Lv.5 Physical Resistance +5.5%. Magic Resistance +5.5%. Restores 15% Health.
Lv.6 Physical Resistance +6.6%. Magic Resistance +6.6%. Restores 15% Health.
Lv.7 Physical Resistance +7.7%. Magic Resistance +7.7%. Restores 15% Health.
Aegis
Increase Defense. Upon reaching a certain level, increase Physical Resistance.
Lv.1 Defense +15.
Lv.2 Defense +30.
Lv.3 Defense +45.
Lv.4 Defense +60.
Lv.5 Defense +75. Physical Resistance +2.5%.
Lv.6 Defense +90. Physical Resistance +2.5%.
Lv.7 Defense +105. Physical Resistance +2.5%.
Tenacious
Increases Maximum Health. Upon reaching a certain level, increases Healing.
Lv.1 Maximum Health +1.8%.
Lv.2 Maximum Health +3.6%.
Lv.3 Maximum Health +5.4%.
Lv.4 Maximum Health +7.2%.
Lv.5 Maximum Health +9%. Healing +7.5%.
Lv.6 Maximum Health +10.8%. Healing +7.5%.
Lv.7 Maximum Health +12.6%. Healing +7.5%.
Wrath
When Health is below 50%, increase Physical Damage and Magic Damage. Upon reaching a certain level, when Health is below 50%, increase Attack.
Lv.1 Physical Damage +2.1%. Magic Damage +2.1%.
Lv.2 Physical Damage +4.2%. Magic Damage +4.2%.
Lv.3 Physical Damage +6.3%. Magic Damage +6.3%.
Lv.4 Physical Damage +8.4%. Magic Damage +8.4%.
Lv.5 Physical Damage +10.5%. Magic Damage +10.5%. Attack +3%.
Lv.6 Physical Damage +12.6%. Magic Damage +12.6%. Attack +3%.
Lv.7 Physical Damage +14.7%. Magic Damage +14.7%. Attack +3%.
Valor
Increases Attack. Upon reaching a certain level, also increases Defense Penetration.
Lv.1 Attack +1.5%.
Lv.2 Attack +3%.
Lv.3 Attack +4.5%.
Lv.4 Attack +6%.
Lv.5 Attack +7.5%. Defense Penetration +1.8%.
Lv.6 Attack +9%. Defense Penetration +1.8%.
Lv.7 Attack +10.5%. Defense Penetration +1.8%.
Burst
Increases the damage of Withered Knight's Wither Execution.
Lv.1 Execution Damage +5%.
Lv.2 Execution Damage +10%.
Lv.3 Execution Damage +15%.
Lv.4 Execution Damage +20%.
Lv.5 Execution Damage +25%.
Guide
Overview
Build de Caballero Marchito para jugar solo con Mandoble, enfocada en supervivencia y presión constante. La idea es aprovechar el alto daño base del Mandoble y compensarlo con Estoicismo, Protección y Tenaz para resistir mejor los intercambios largos.
How to Play
- Usa el Mandoble como arma principal para iniciar y cerrar peleas.
- Prioriza Parry y Breakthrough Charge para castigar errores y controlar la distancia.
- Radiant Retribution sirve como herramienta de presión y remate.
- Cuando tu vida baja, la build gana valor gracias a Estoicismo y Rabia: no entres en pánico, juega alrededor de esos efectos.
- Cambia a arma de asta y escudo cuando necesites aguantar, reposicionarte o cortar la presión enemiga.
- No busques intercambios largos sin sentido: entra, fuerza reacción, castiga y vuelve a colocarte.
Affix Priority
Stoic 6 > Aegis 5 > Tenacious 5 > Wrath 5 > Valor 3 > Burst 3
Tips & Tricks
- No sacrifiques Estoicismo, Protección o Tenaz por subir demasiado el daño.
- El Mandoble ya aporta suficiente daño; la defensa es lo que hace estable la build en solo.
- Guarda Breakthrough Charge para perseguir, castigar una curación o salir de una mala posición.
- Parry es clave contra jugadores agresivos.
- Si el rival te obliga a pelear a poca vida, aprovecha Rabia y Estoicismo en lugar de retirarte inmediatamente.
Comments (0)
Got thoughts on this build?
Sign in to join the conversation.
No comments yet. Be the first to share your thoughts!

Contents