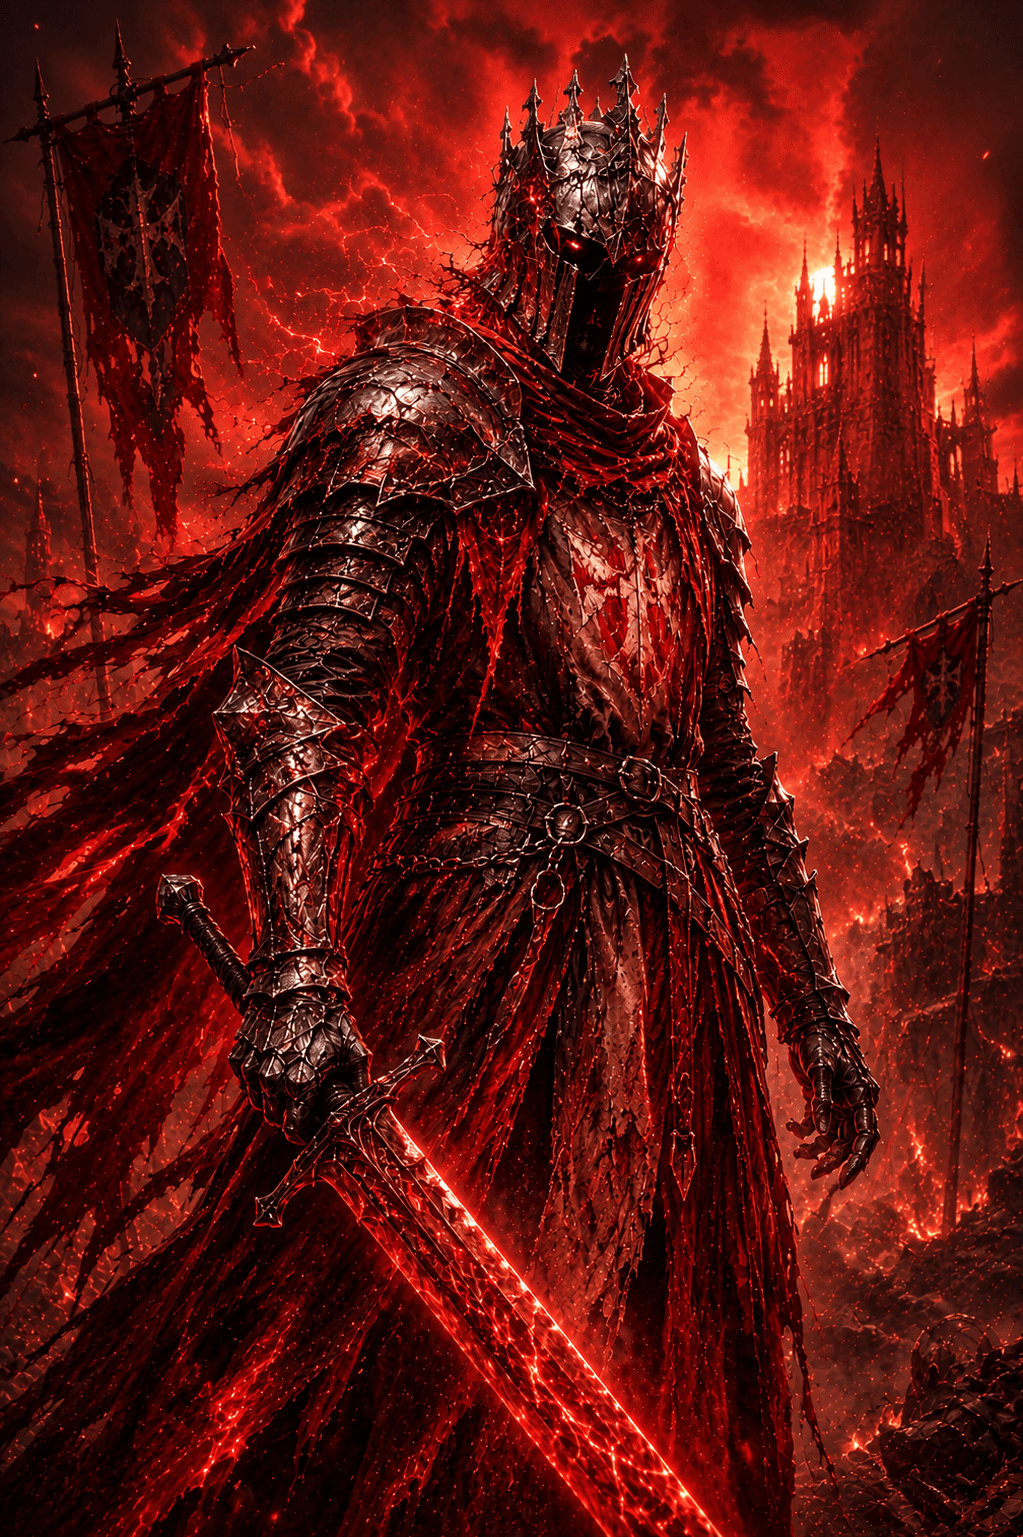
 Withered KnightPvPRecently Updated
Purple Withered Knight
Go brr
Item Set Import Codes
Skills
Greatsword
Basic
 Light Strike
Light Strike: three-hit combo; each hit charges your weapon. When fully charged, the weapon enters Judgment. The next light strike will apply Wither to the enemy.
 Heavy Strike
Heavy Strike: turn and thrust your weapon upward. Can be charged to release: dash forward and strike twice. All heavy strikes can execute Wither you've applied.
 Opportunistic Thrust
After dodging, immediately use the button to branch into a light strike: dash forward slightly while swinging your sword to attack.
 Sprinting Slash
After dodging forward, immediately use the button to branch into a heavy strike: leap forward while spinning to swing your weapon. After dodging backward, immediately use the button to branch into a heavy strike: perform a counterattack while stepping back. Both heavy strike branches can execute enemies affected by Wither.
 Pursuit
After any heavy strike, you can use the button to branch into a light strike: rapidly swing your weapon to perform two slashes.
Selected Skills
 Breakthrough Charge
Can perform a two-stage dash attack. Stage 1: Thrust forward with your sword. During the recovery, press the buttons to perform a branch attack (second stage). Stage 2 Left Branch: Dash in a leftward arc, sweeping enemies and knocking them back to the right. Stage 2 Right Branch: Dash in a rightward arc, sweeping enemies and knocking them back to the left.
 Thorn Guide
Shoot thorns forward with your left hand, pulling the first enemy hit toward you. If the target is too large or in a special state (e.g., Super Armor, Blocking), you will instead dash along the thorns toward them.
Polearm and Shield
Basic
 Light Strike
Alternate between spear thrusts and horizontal sweeps. Each hit charges your weapon. When fully charged, the weapon enters Judgment. The next light strike will apply Wither to the enemy.
 Charged Dash
Raise your shield to block frontal attacks. You can hold to maintain the shield stance while charging the skill up to 3 levels, before initiating a forward dash attack. Lv.1 Charge: Dash forward with your shield raised to ram enemies. Lv.2 Charge: Gain Super Armor; increase the dash distance and follow up with an additional thrust. Lv.3 Charge: Gain Super Armor; increase the dash distance and follow up with a more powerful leaping thrust.
Selected Skills
 Breaker Shield Bash
Strikes the back of the shield with a fist to deal damage to targets within a wide frontal area, immediately applying Wither. Possesses a Block property while the shield is raised.
 Javelin Thrust
Hurl your spear forward, immediately applying Wither to the target. Upon impact, rapidly leap to the target and pull out the spear with a sweeping strike to deal damage.
Talents
Affixes
Valor
Increases Attack. Upon reaching a certain level, also increases Defense Penetration.
Lv.1 Attack +1.5%.
Lv.2 Attack +3%.
Lv.3 Attack +4.5%.
Lv.4 Attack +6%.
Lv.5 Attack +7.5%. Defense Penetration +1.8%.
Lv.6 Attack +9%. Defense Penetration +1.8%.
Lv.7 Attack +10.5%. Defense Penetration +1.8%.
Vitality
Increases Maximum Energy. Upon reaching a certain level, when entering a state of Energy Overdraft, you become immune to that specific instance of Energy Overdraft. Cooldown: 60s.
Lv.1 Maximum Energy +5.
Lv.2 Maximum Energy +10.
Lv.3 Maximum Energy +15.
Lv.4 Maximum Energy +20. Immune to the current Energy Overdraft state.
Lv.5 Maximum Energy +25. Immune to the current Energy Overdraft state.
Elusive
Reduces Dodge Energy Cost.
Lv.1 Dodge Energy Cost Reduction +4%.
Lv.2 Dodge Energy Cost Reduction +8%.
Lv.3 Dodge Energy Cost Reduction +12%.
Lv.4 Dodge Energy Cost Reduction +16%.
Lv.5 Dodge Energy Cost Reduction +20%.
Fervor
After hitting an enemy, increase Physical Damage and Magic Damage for 3s, stacking up to 5 times. Upon reaching the required level, when the number of stacks is greater than or equal to 3, increase Defense Penetration.
Lv.1 Physical Damage +0.4%. Magic Damage +0.4%.
Lv.2 Physical Damage +0.8%. Magic Damage +0.8%.
Lv.3 Physical Damage +1.2%. Magic Damage +1.2%.
Lv.4 Physical Damage +1.6%. Magic Damage +1.6%.
Lv.5 Physical Damage +2%. Magic Damage +2%. Defense Penetration +2.5%.
Lv.6 Physical Damage +2.4%. Magic Damage +2.4%. Defense Penetration +2.5%.
Lv.7 Physical Damage +2.8%. Magic Damage +2.8%. Defense Penetration +2.5%.
Strife
Increases Melee Weapon Damage. Upon reaching a certain level, increases Melee Weapon Damage for each nearby enemy, up to 3 stacks.
Lv.1 Physical Damage +1.2%. Magic Damage +1.2%.
Lv.2 Physical Damage +2.4%. Magic Damage +2.4%.
Lv.3 Physical Damage +3.6%. Magic Damage +3.6%.
Lv.4 Physical Damage +4.8%. Magic Damage +4.8%.
Lv.5 Physical Damage +6%. Magic Damage +6%. Physical Damage per stack +2%. Magic Damage per stack +2%.
Lv.6 Physical Damage +7.2%. Magic Damage +7.2%. Physical Damage per stack +2%. Magic Damage per stack +2%.
Lv.7 Physical Damage +8.4%. Magic Damage +8.4%. Physical Damage per stack +2%. Magic Damage per stack +2%.
Seamless
Increases Skill Cooldown Speed. Upon reaching a certain level, knocking down a Gyldhunter reduces skill cooldowns currently in progress.
Lv.1 Skill Cooldown Speed +2.2%.
Lv.2 Skill Cooldown Speed +4.4%.
Lv.3 Skill Cooldown Speed +6.6%.
Lv.4 Skill Cooldown Speed +8.8%.
Lv.5 Skill Cooldown Speed +11%. Gyldhunter Knockdown Cooldown Refund +30%.
Lv.6 Skill Cooldown Speed +13.2%. Gyldhunter Knockdown Cooldown Refund +30%.
Lv.7 Skill Cooldown Speed +15.4%. Gyldhunter Knockdown Cooldown Refund +30%.
Curse
Increase the duration of Debuffs inflicted by you.
Lv.1 Debuff Duration +5%.
Lv.2 Debuff Duration +10%.
Lv.3 Debuff Duration +15%.
Lv.4 Debuff Duration +20%.
Lv.5 Debuff Duration +25%.
Guide
If you're playing Withered Knight and struggling to land the stun → RMB shield combo against enemies with Resilience, try running Curse 2. It helps you get the stun into the RMB shield follow-up more reliably, giving you a much better damage window against tankier targets. I’ve been using this setup in my PvP games and it makes the combo feel much more consistent. Full gameplay here: https://www.youtube.com/watch?v=Q-v0qijVrUI&lc=Ugzu2Ipd8r7fzMQTh054AaABAg (trio)
https://www.youtube.com/watch?v=Dw5uUgNeNKs&t=213s (solo)
Can swap out Sacred Body for Focus for solos.
Comments (0)
Got thoughts on this build?
Sign in to join the conversation.
No comments yet. Be the first to share your thoughts!

Contents