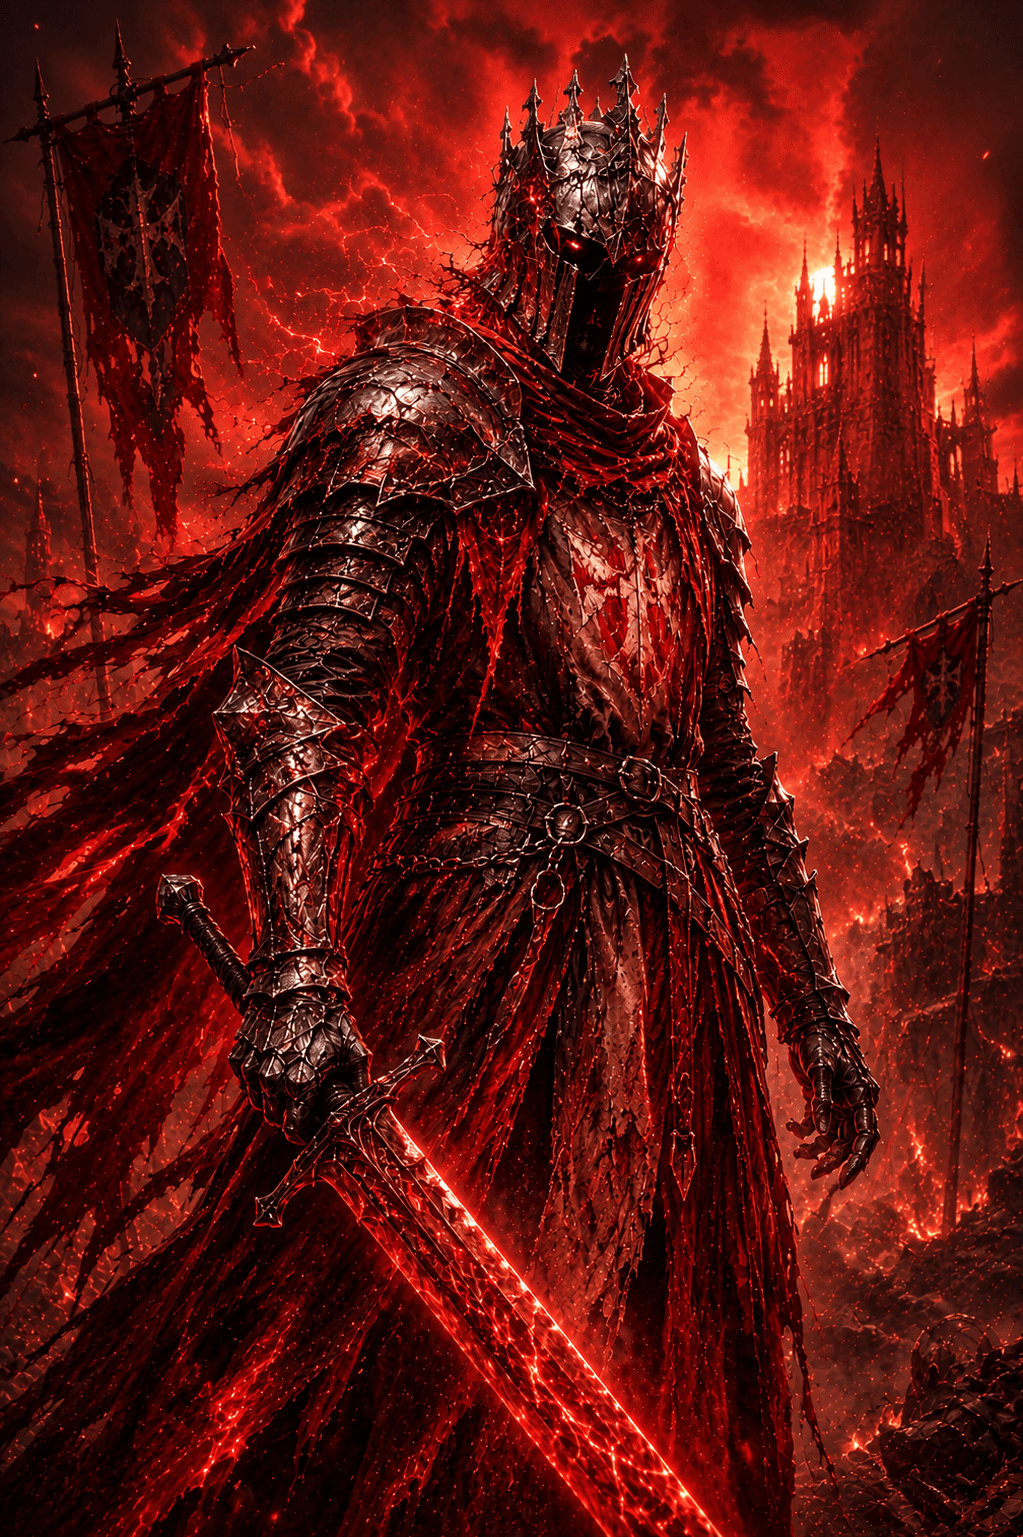
 Withered KnightSoloUp to Date
PnS - Solo build
Solo build
Skills
Greatsword
Basic
 Light Strike
Light Strike: three-hit combo; each hit charges your weapon. When fully charged, the weapon enters Judgment. The next light strike will apply Wither to the enemy.
 Heavy Strike
Heavy Strike: turn and thrust your weapon upward. Can be charged to release: dash forward and strike twice. All heavy strikes can execute Wither you've applied.
 Opportunistic Thrust
After dodging, immediately use the button to branch into a light strike: dash forward slightly while swinging your sword to attack.
 Sprinting Slash
After dodging forward, immediately use the button to branch into a heavy strike: leap forward while spinning to swing your weapon. After dodging backward, immediately use the button to branch into a heavy strike: perform a counterattack while stepping back. Both heavy strike branches can execute enemies affected by Wither.
 Pursuit
After any heavy strike, you can use the button to branch into a light strike: rapidly swing your weapon to perform two slashes.
Selected Skills
 Breakthrough Charge
Can perform a two-stage dash attack. Stage 1: Thrust forward with your sword. During the recovery, press the buttons to perform a branch attack (second stage). Stage 2 Left Branch: Dash in a leftward arc, sweeping enemies and knocking them back to the right. Stage 2 Right Branch: Dash in a rightward arc, sweeping enemies and knocking them back to the left.
Polearm and Shield
Basic
 Light Strike
Alternate between spear thrusts and horizontal sweeps. Each hit charges your weapon. When fully charged, the weapon enters Judgment. The next light strike will apply Wither to the enemy.
 Charged Dash
Raise your shield to block frontal attacks. You can hold to maintain the shield stance while charging the skill up to 3 levels, before initiating a forward dash attack. Lv.1 Charge: Dash forward with your shield raised to ram enemies. Lv.2 Charge: Gain Super Armor; increase the dash distance and follow up with an additional thrust. Lv.3 Charge: Gain Super Armor; increase the dash distance and follow up with a more powerful leaping thrust.
Selected Skills
 Breaker Shield Bash
Strikes the back of the shield with a fist to deal damage to targets within a wide frontal area, immediately applying Wither. Possesses a Block property while the shield is raised.
 Sacred Bulwark
Infuse the shield with sacred energy to erect a massive energy barrier, during which you cannot move or turn. This barrier completely blocks frontal attacks and prevents enemies from passing through. The skill can be cast again to thrust the shield forward, dealing damage and knocking enemies back. The energy barrier shatters after blocking attacks with impact a certain number of times.
Talents
Affixes
Vitality
Increases Maximum Energy. Upon reaching a certain level, when entering a state of Energy Overdraft, you become immune to that specific instance of Energy Overdraft. Cooldown: 60s.
Lv.1 Maximum Energy +5.
Lv.2 Maximum Energy +10.
Lv.3 Maximum Energy +15.
Lv.4 Maximum Energy +20. Immune to the current Energy Overdraft state.
Lv.5 Maximum Energy +25. Immune to the current Energy Overdraft state.
Elusive
Reduces Dodge Energy Cost.
Lv.1 Dodge Energy Cost Reduction +4%.
Lv.2 Dodge Energy Cost Reduction +8%.
Lv.3 Dodge Energy Cost Reduction +12%.
Lv.4 Dodge Energy Cost Reduction +16%.
Lv.5 Dodge Energy Cost Reduction +20%.
Guide
Gear & Skills
Main Weapon (Polearm & Shield): Recommended skill set includes Javelin Thrust, Breaker, Shield Bash, and Sacred Bulwark.
Secondary Weapon (Greatsword): Mainly used for an extra dash and the Breakthrough skill to close the gap while polearm skills are on cooldown.
Key Talents
Polearm and Shield Specialization, Rising Morale, Momentum Shift, Shield Wall Slam: Helps reset/refund Shield Charge every time you execute a Shield Bash.
Javelin Heavy Kick & Javelin Stun: Kicks the opponent into a wall after throwing the javelin to stun them for 2 seconds, opening up a massive burst damage combo.
Off-balance & Focuses: Increases range, applies a slow, and reduces the opponent's dodge distance when using Shield Punch.
Affixes Priority
Vitality & Elusive: The top 2 priority stats; max them out to level 5 first to optimize both your skills and dodges.
Valor: The next priority; should be leveled up to at least level 5.
Remaining Affixes: Flexibly customize based on preference (whether you want to be tankier or deal more damage).Gear & Skills
Main Weapon (Polearm & Shield): Recommended skill set includes Javelin Thrust, Breaker, Shield Bash, and Sacred Bulwark.
Secondary Weapon (Greatsword): Mainly used for an extra dash and the Breakthrough skill to close the gap while polearm skills are on cooldown.
Key Talents
Polearm and Shield Specialization, Rising Morale, Momentum Shift, Shield Wall Slam: Helps reset/refund Shield Charge every time you execute a Shield Bash.
Javelin Heavy Kick & Javelin Stun: Kicks the opponent into a wall after throwing the javelin to stun them for 2 seconds, opening up a massive burst damage combo.
Off-balance & Focuses: Increases range, applies a slow, and reduces the opponent's dodge distance when using Shield Punch.
Affixes Priority
Vitality & Elusive: The top 2 priority stats; max them out to level 5 first to optimize both your skills and dodges.
Valor: The next priority; should be leveled up to at least level 5.
Remaining Affixes: Flexibly customize based on preference (whether you want to be tankier or deal more damage).
Overall Class Review
Evaluated as the best solo build, outperforming the Greatsword once fully mastered.
High Difficulty: Powerful but hard to play; players need to invest time in practicing the timing of Shield Bash, reading combat situations, and aiming linear attacks accurately.
Overall Class Review
Evaluated as the best solo build, outperforming the Greatsword once fully mastered.
High Difficulty: Powerful but hard to play; players need to invest time in practicing the timing of Shield Bash, reading combat situations, and aiming linear attacks accurately.
Comments (0)
Got thoughts on this build?
Sign in to join the conversation.
No comments yet. Be the first to share your thoughts!

Contents