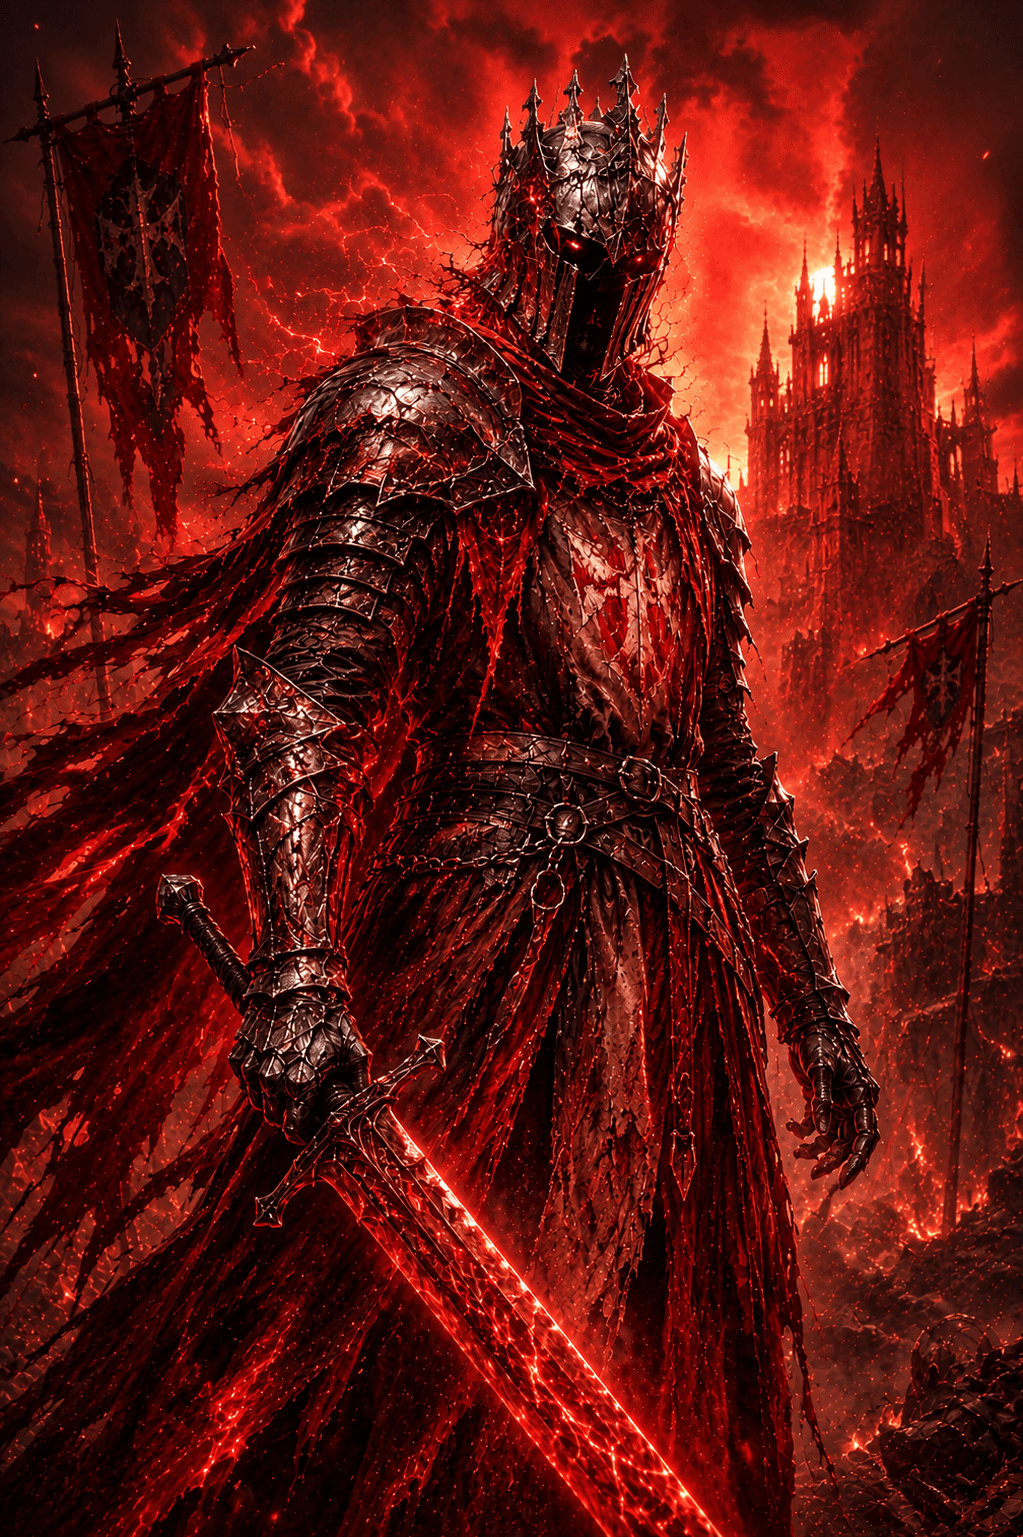
 Withered KnightPvPRecently Updated
Greatsword Gigachad - Solo or Trios
Gigachads only
Item Set Import Codes
Skills
Greatsword
Basic
 Light Strike
Light Strike: three-hit combo; each hit charges your weapon. When fully charged, the weapon enters Judgment. The next light strike will apply Wither to the enemy.
 Heavy Strike
Heavy Strike: turn and thrust your weapon upward. Can be charged to release: dash forward and strike twice. All heavy strikes can execute Wither you've applied.
 Opportunistic Thrust
After dodging, immediately use the button to branch into a light strike: dash forward slightly while swinging your sword to attack.
 Sprinting Slash
After dodging forward, immediately use the button to branch into a heavy strike: leap forward while spinning to swing your weapon. After dodging backward, immediately use the button to branch into a heavy strike: perform a counterattack while stepping back. Both heavy strike branches can execute enemies affected by Wither.
 Pursuit
After any heavy strike, you can use the button to branch into a light strike: rapidly swing your weapon to perform two slashes.
Selected Skills
 Radiant Retribution
Rapidly swing your greatsword, performing three wide slashes in quick succession. Each attack counts as a Light Strike, and hitting enemies charges your weapon. When fully charged, it applies Judgment to the target. The final strike has a brief Super Armor effect.
 Parry
ParryAssume a defensive stance to parry frontal attacks (negating damage), recovering Energy with each successful parry. This stance lasts up to 5s or until you parry 3 attacks, whichever comes first. Immediately after a successful parry, press the buttons to perform different branch attacks: one is a sweeping strike against enemies in front, while the other is a long-distance dash slash. Both branch attacks apply Wither on hit. Parry has a shorter base cooldown in trio mode.
 Breakthrough Charge
Can perform a two-stage dash attack. Stage 1: Thrust forward with your sword. During the recovery, press the buttons to perform a branch attack (second stage). Stage 2 Left Branch: Dash in a leftward arc, sweeping enemies and knocking them back to the right. Stage 2 Right Branch: Dash in a rightward arc, sweeping enemies and knocking them back to the left.
Polearm and Shield
Basic
 Light Strike
Alternate between spear thrusts and horizontal sweeps. Each hit charges your weapon. When fully charged, the weapon enters Judgment. The next light strike will apply Wither to the enemy.
 Charged Dash
Raise your shield to block frontal attacks. You can hold to maintain the shield stance while charging the skill up to 3 levels, before initiating a forward dash attack. Lv.1 Charge: Dash forward with your shield raised to ram enemies. Lv.2 Charge: Gain Super Armor; increase the dash distance and follow up with an additional thrust. Lv.3 Charge: Gain Super Armor; increase the dash distance and follow up with a more powerful leaping thrust.
Selected Skills
 Javelin Thrust
Hurl your spear forward, immediately applying Wither to the target. Upon impact, rapidly leap to the target and pull out the spear with a sweeping strike to deal damage.
Talents
Guide
Warning: gigachads only, do not play this build unless you are prepared to die on repeat. Once you get it down, you can smoke every class.
Look to get wither on the enemy by any means necessary. The delayed explosion means that, as soon as you have the mark on an enemy, you can wait as long as you need (because it will eventually trigger a delayed explosion).
Explosion = they either get staggered or dodge. If they get staggered, easy punish (often hit a thorn guide off it). If they dodge, minus 1 dodge & you can hit them with a follow up.
Aside from all that- standard greatsword stuff. Play around your abilities more than your regular auto attacks. Parry is insane. Thorn guide is ultimate counter to someone dodging away with breakthrough. Radiant retribution helps apply wither mark, helps close gap, and is a decent source of super armor. All else fails- swap to polearm & shield for a quick jav throw.
This build got a sizeable buff on 8/19/26. You can take off thorn guide for Withering Mark if you want more AoE cleave vs the enemy team. I'm preferring thorn guide right now as 1 hook can change an entire fight (and it's good against stardust sorc comps that sit in a doorway and poke you).
Also worth noting- with these buffs, charged right click is a VERY strong opener. It closes a lot of distance with super armor. I'll often aim to reach the backline off a parry into right click (for extra long range) or a charged right click to zoom around a corner.
Check me out on twitch, running this build in solos & trios often.
twitch.tv/itmemories
Comments (0)
Got thoughts on this build?
Sign in to join the conversation.
No comments yet. Be the first to share your thoughts!

Contents