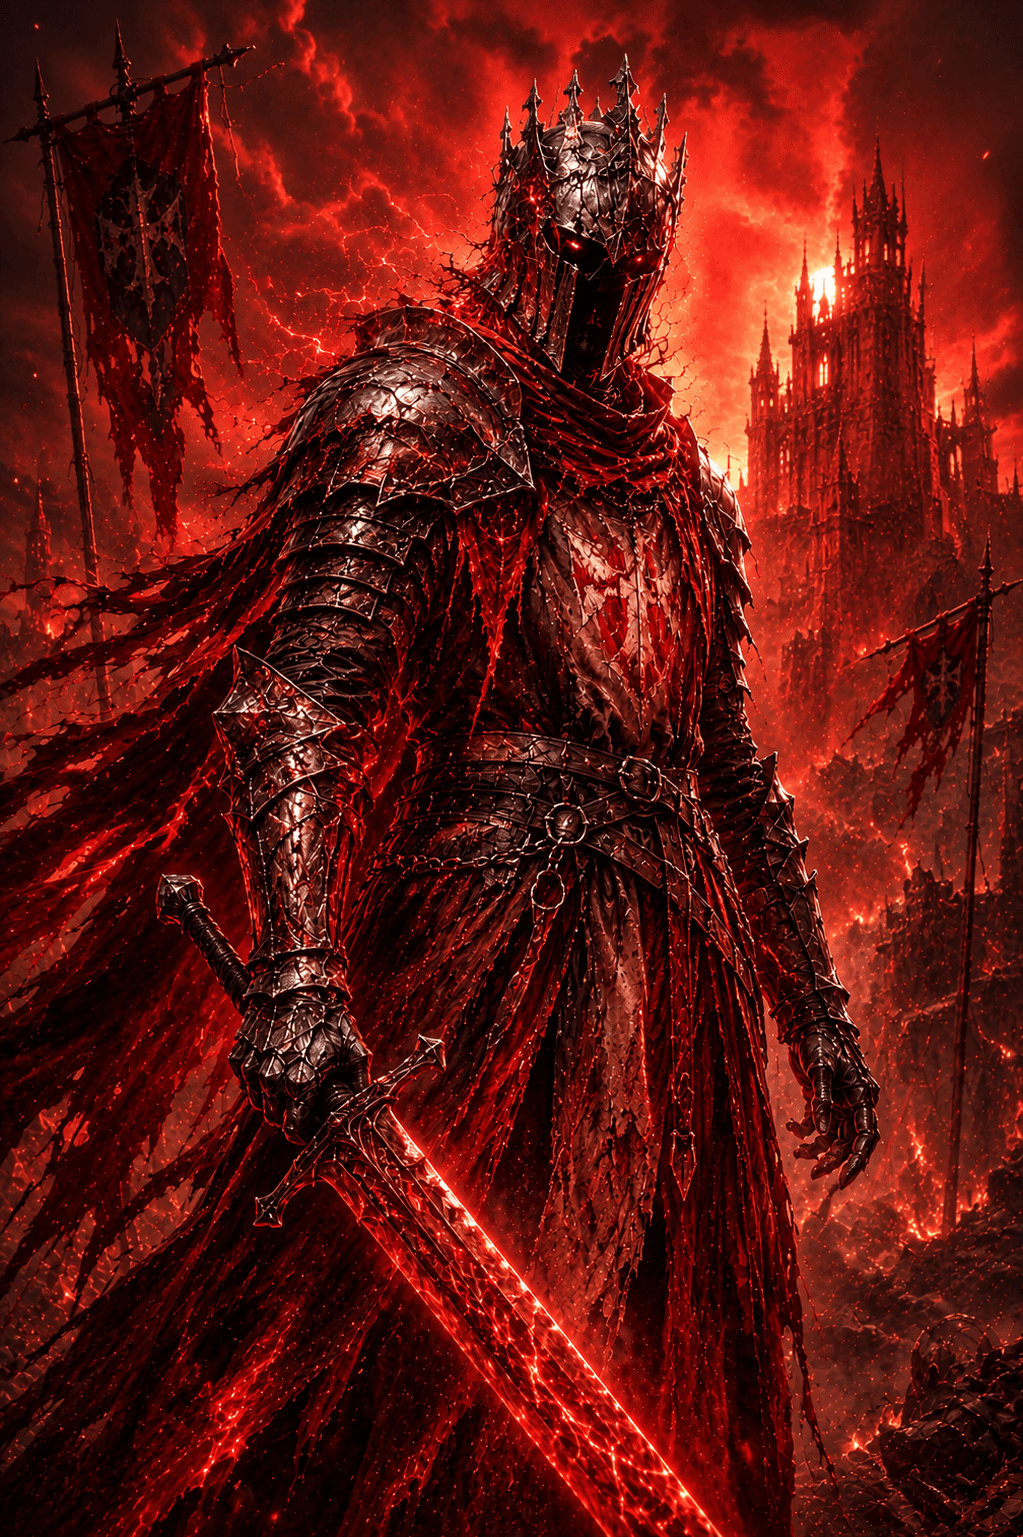
 Withered KnightPvPRecently Updated
Blue budget PVP Burst 5 Unstoppable Solo/Trio Build
This build utilizes burst and Skypiercer so you can quickly eliminate players with RR.
Skills
Greatsword
Basic
 Light Strike
Light Strike: three-hit combo; each hit charges your weapon. When fully charged, the weapon enters Judgment. The next light strike will apply Wither to the enemy.
 Heavy Strike
Heavy Strike: turn and thrust your weapon upward. Can be charged to release: dash forward and strike twice. All heavy strikes can execute Wither you've applied.
 Opportunistic Thrust
After dodging, immediately use the button to branch into a light strike: dash forward slightly while swinging your sword to attack.
 Sprinting Slash
After dodging forward, immediately use the button to branch into a heavy strike: leap forward while spinning to swing your weapon. After dodging backward, immediately use the button to branch into a heavy strike: perform a counterattack while stepping back. Both heavy strike branches can execute enemies affected by Wither.
 Pursuit
After any heavy strike, you can use the button to branch into a light strike: rapidly swing your weapon to perform two slashes.
Selected Skills
 Radiant Retribution
Rapidly swing your greatsword, performing three wide slashes in quick succession. Each attack counts as a Light Strike, and hitting enemies charges your weapon. When fully charged, it applies Judgment to the target. The final strike has a brief Super Armor effect.
 Parry
ParryAssume a defensive stance to parry frontal attacks (negating damage), recovering Energy with each successful parry. This stance lasts up to 5s or until you parry 3 attacks, whichever comes first. Immediately after a successful parry, press the buttons to perform different branch attacks: one is a sweeping strike against enemies in front, while the other is a long-distance dash slash. Both branch attacks apply Wither on hit. Parry has a shorter base cooldown in trio mode.
 Thorn Guide
Shoot thorns forward with your left hand, pulling the first enemy hit toward you. If the target is too large or in a special state (e.g., Super Armor, Blocking), you will instead dash along the thorns toward them.
Polearm and Shield
Basic
 Light Strike
Alternate between spear thrusts and horizontal sweeps. Each hit charges your weapon. When fully charged, the weapon enters Judgment. The next light strike will apply Wither to the enemy.
 Charged Dash
Raise your shield to block frontal attacks. You can hold to maintain the shield stance while charging the skill up to 3 levels, before initiating a forward dash attack. Lv.1 Charge: Dash forward with your shield raised to ram enemies. Lv.2 Charge: Gain Super Armor; increase the dash distance and follow up with an additional thrust. Lv.3 Charge: Gain Super Armor; increase the dash distance and follow up with a more powerful leaping thrust.
Selected Skills
 Javelin Thrust
Hurl your spear forward, immediately applying Wither to the target. Upon impact, rapidly leap to the target and pull out the spear with a sweeping strike to deal damage.
Talents
Affixes
Burst
Increases the damage of Withered Knight's Wither Execution.
Lv.1 Execution Damage +5%.
Lv.2 Execution Damage +10%.
Lv.3 Execution Damage +15%.
Lv.4 Execution Damage +20%.
Lv.5 Execution Damage +25%.
Burst 5 allows quick elimination in 1v3 Brandrgarde fights.
Seamless
Increases Skill Cooldown Speed. Upon reaching a certain level, knocking down a Gyldhunter reduces skill cooldowns currently in progress.
Lv.1 Skill Cooldown Speed +2.2%.
Lv.2 Skill Cooldown Speed +4.4%.
Lv.3 Skill Cooldown Speed +6.6%.
Lv.4 Skill Cooldown Speed +8.8%.
Lv.5 Skill Cooldown Speed +11%. Gyldhunter Knockdown Cooldown Refund +30%.
Lv.6 Skill Cooldown Speed +13.2%. Gyldhunter Knockdown Cooldown Refund +30%.
Lv.7 Skill Cooldown Speed +15.4%. Gyldhunter Knockdown Cooldown Refund +30%.
Smiting
On a Critical Hit, recover Energy. Cooldown: 3s. Upon reaching a certain level, on a Critical Hit, reduce the cooldown of all skills. Cooldown: 3s. Critical Hit: Hitting weak points deals Critical Hits, increasing DMG based on Critical DMG while enhancing Impact. The head is a weak point for both Gyldhunters and most monsters.
Lv.1 Recover Energy by 2.
Lv.2 Recover Energy by 4.
Lv.3 Recover Energy by 6.
Lv.4 Recovers Energy by 8. Reduces Cooldown by 1s.
Lv.5 Recovers Energy by 10. Reduces Cooldown by 1s.
The icon looks just like burst so you may end up with some of these. It's okay.
Sky Piercer
Casting skills in the air increases Physical Damage and Magic Damage. Upon reaching a certain level, aerial casting also reduces Skill Energy Cost.
Lv.1 Physical Damage +1.6%. Magic Damage +1.6%.
Lv.2 Physical Damage +3.2%. Magic Damage +3.2%.
Lv.3 Physical Damage +4.8%. Magic Damage +4.8%.
Lv.4 Physical Damage +6.4%. Magic Damage +6.4%.
Lv.5 Physical Damage +8%. Magic Damage +8%. Skill Energy Cost Reduction +8%.
Lv.6 Physical Damage +9.6%. Magic Damage +9.6%. Skill Energy Cost Reduction +8%.
Lv.7 Physical Damage +11.2%. Magic Damage +11.2%. Skill Energy Cost Reduction +8%.
RR Burst DMG, It's in the air right?
Guide
Overview
You want to spec into greatsword, two into wither but not into legacy as in reality we are all normally stacking pots so legacy is a wasted point, instead we put that wasted point into Gyldenmist tolerance, this allows you to stick around the edge of the circle on Brandrgarde to wait for the final teams to farm easy legendaries. 5 Burst for obvious reasons (new buffs), seamless as close to max as well to keep the abilities going, pressure on the enemy team causes mistakes. Then you can take a few points into smiting because it looks just like burst and sometimes we get confused (it's okay) and finally the coup de grace is skypiercer. All hits of RR hit in the air making it a one shot monster if you have good enough gear to max it out.
Playstyle
The idea is to queue in 1v3 on Brandrgarde using Gyldenmist tolerance, you want to avoid any teams early game and focus on the last 1-2 teams that is where Gyldenmist Hunter comes in so that you are able to avoid teams using the edge of the mist. Use Burst to pick players off that stray away and parry if you are swarmed. Good luck meta Knight
Comments (0)
Got thoughts on this build?
Sign in to join the conversation.
No comments yet. Be the first to share your thoughts!

Contents