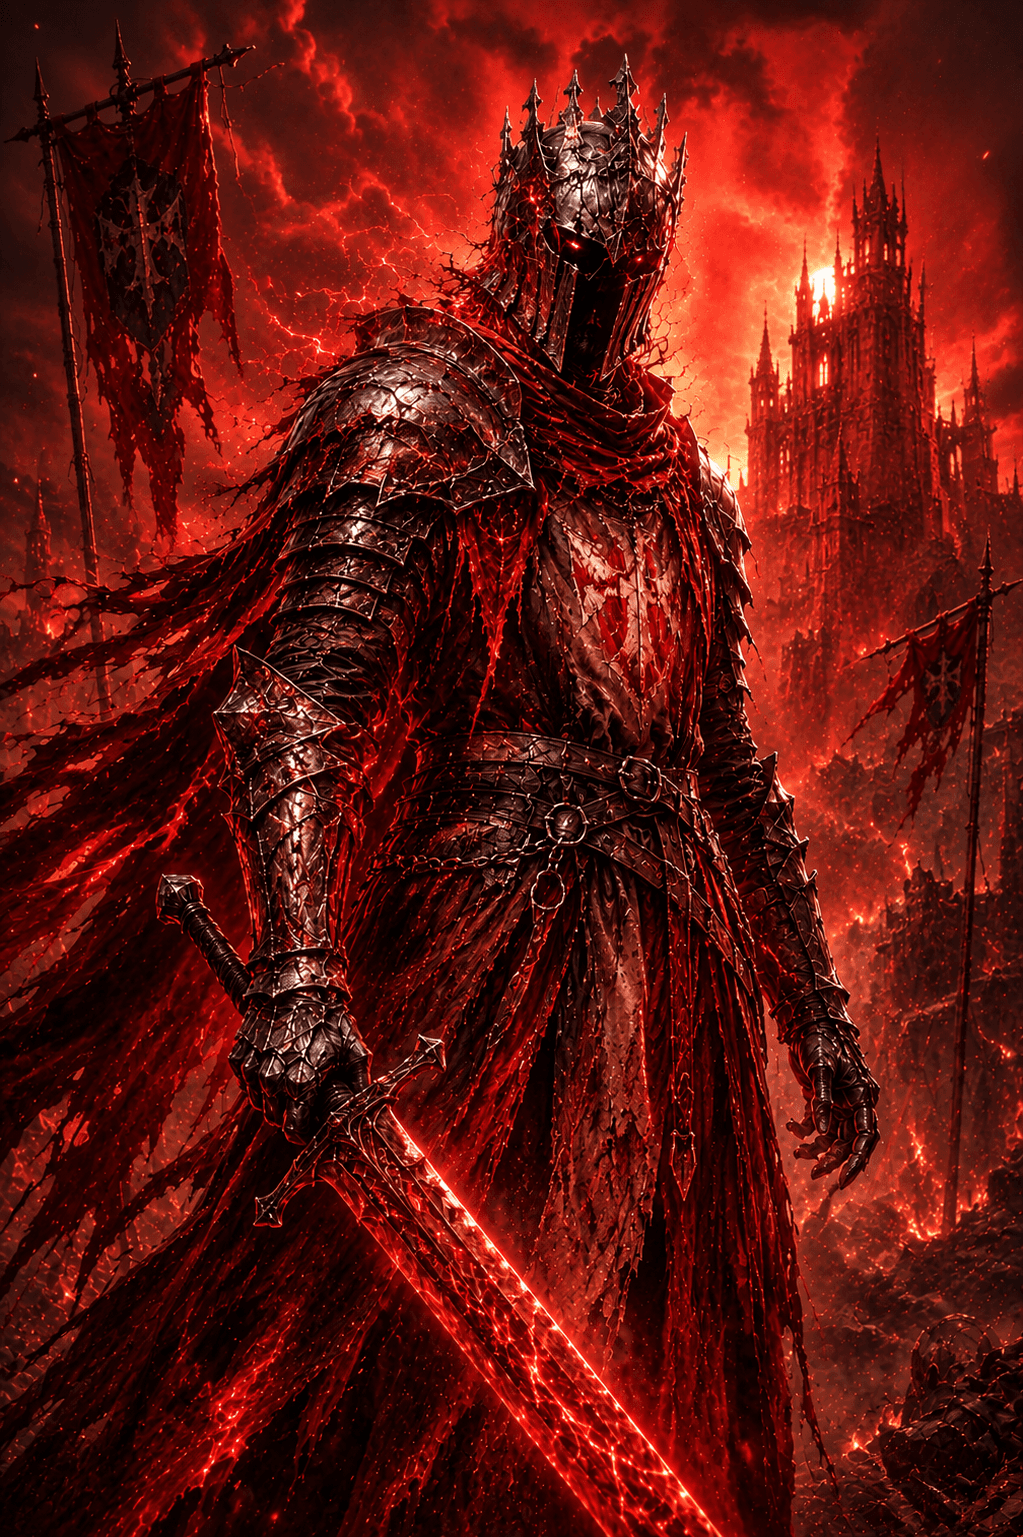
 Withered KnightPvPUp to Date
(In Depth) Withered Knight PnS Giga Chad Build
For those who like applying a lot of pressure and punishing mistakes.
Item Set Import Codes
Skills
Greatsword
Basic
 Light Strike
Light Strike: three-hit combo; each hit charges your weapon. When fully charged, the weapon enters Judgment. The next light strike will apply Wither to the enemy.
 Heavy Strike
Heavy Strike: turn and thrust your weapon upward. Can be charged to release: dash forward and strike twice. All heavy strikes can execute Wither you've applied.
 Opportunistic Thrust
After dodging, immediately use the button to branch into a light strike: dash forward slightly while swinging your sword to attack.
 Sprinting Slash
After dodging forward, immediately use the button to branch into a heavy strike: leap forward while spinning to swing your weapon. After dodging backward, immediately use the button to branch into a heavy strike: perform a counterattack while stepping back. Both heavy strike branches can execute enemies affected by Wither.
 Pursuit
After any heavy strike, you can use the button to branch into a light strike: rapidly swing your weapon to perform two slashes.
Selected Skills
 Thorn Guide
Shoot thorns forward with your left hand, pulling the first enemy hit toward you. If the target is too large or in a special state (e.g., Super Armor, Blocking), you will instead dash along the thorns toward them.
Polearm and Shield
Basic
 Light Strike
Alternate between spear thrusts and horizontal sweeps. Each hit charges your weapon. When fully charged, the weapon enters Judgment. The next light strike will apply Wither to the enemy.
 Charged Dash
Raise your shield to block frontal attacks. You can hold to maintain the shield stance while charging the skill up to 3 levels, before initiating a forward dash attack. Lv.1 Charge: Dash forward with your shield raised to ram enemies. Lv.2 Charge: Gain Super Armor; increase the dash distance and follow up with an additional thrust. Lv.3 Charge: Gain Super Armor; increase the dash distance and follow up with a more powerful leaping thrust.
Selected Skills
 Breaker Shield Bash
Strikes the back of the shield with a fist to deal damage to targets within a wide frontal area, immediately applying Wither. Possesses a Block property while the shield is raised.
 Javelin Thrust
Hurl your spear forward, immediately applying Wither to the target. Upon impact, rapidly leap to the target and pull out the spear with a sweeping strike to deal damage.
 Intervene
Dash forward a set distance (or directly to an ally's side if targeted). You then raise your shield to unleash an energy pulse that knocks back nearby enemies and grants a Shield to allies within range. Gain a brief Super Armor effect after dashing forward.
Talents
Affixes
Elusive
Reduces Dodge Energy Cost.
Lv.1 Dodge Energy Cost Reduction +4%.
Lv.2 Dodge Energy Cost Reduction +8%.
Lv.3 Dodge Energy Cost Reduction +12%.
Lv.4 Dodge Energy Cost Reduction +16%.
Lv.5 Dodge Energy Cost Reduction +20%.
This is your bread and butter for PnS. It gives you more stamina to constantly dash forward applying pressure while blocking. It also gives more mobility when you need to back off and reset.
Vitality
Increases Maximum Energy. Upon reaching a certain level, when entering a state of Energy Overdraft, you become immune to that specific instance of Energy Overdraft. Cooldown: 60s.
Lv.1 Maximum Energy +5.
Lv.2 Maximum Energy +10.
Lv.3 Maximum Energy +15.
Lv.4 Maximum Energy +20. Immune to the current Energy Overdraft state.
Lv.5 Maximum Energy +25. Immune to the current Energy Overdraft state.
This is priority number 2. It gives you more energy which in turn gives you more ability spam and more blocking power along with not being thrown into the energy overdraft state.
Valor
Increases Attack. Upon reaching a certain level, also increases Defense Penetration.
Lv.1 Attack +1.5%.
Lv.2 Attack +3%.
Lv.3 Attack +4.5%.
Lv.4 Attack +6%.
Lv.5 Attack +7.5%. Defense Penetration +1.8%.
Lv.6 Attack +9%. Defense Penetration +1.8%.
Lv.7 Attack +10.5%. Defense Penetration +1.8%.
All around best damage affix.
Aegis
Increase Defense. Upon reaching a certain level, increase Physical Resistance.
Lv.1 Defense +15.
Lv.2 Defense +30.
Lv.3 Defense +45.
Lv.4 Defense +60.
Lv.5 Defense +75. Physical Resistance +2.5%.
Lv.6 Defense +90. Physical Resistance +2.5%.
Lv.7 Defense +105. Physical Resistance +2.5%.
All around best defense affix if you can only run one.
Stoic
When Health is below 50%, increase Physical Resistance and Magic Resistance. Upon reaching a certain level, when Health is below 30%, restore Health. Cooldown: 120s.
Lv.1 Physical Resistance +1.1%. Magic Resistance +1.1%.
Lv.2 Physical Resistance +2.2%. Magic Resistance +2.2%.
Lv.3 Physical Resistance +3.3%. Magic Resistance +3.3%.
Lv.4 Physical Resistance +4.4%. Magic Resistance +4.4%.
Lv.5 Physical Resistance +5.5%. Magic Resistance +5.5%. Restores 15% Health.
Lv.6 Physical Resistance +6.6%. Magic Resistance +6.6%. Restores 15% Health.
Lv.7 Physical Resistance +7.7%. Magic Resistance +7.7%. Restores 15% Health.
My next personal favorite defensive affix. After Valor 5 you do not need much more damage. Being able to tank and constantly pressure your enemy so they can't heal wins fights.
Resilience
Reduces the duration of debuffs received. Upon reaching a certain level, suffering a crowd control debuff temporarily increases your Physical Resistance and Magic Resistance. Crowd Control Debuffs: Crowd control debuffs include Stunned, Frozen, Immobilize, and Dodge Distance Reduction.
Lv.1 Debuff Duration -5%.
Lv.2 Debuff Duration -10%.
Lv.3 Debuff Duration -15%.
Lv.4 Debuff Duration -20%. Physical Resistance +10%. Magic Resistance +10%.
Lv.5 Debuff Duration -25%. Physical Resistance +10%. Magic Resistance +10%.
This is helpful into Mercs especially since it is the hardest counter to WK's. Feel free to replace this with Strife if you prefer more damage.
Strife
Increases Melee Weapon Damage. Upon reaching a certain level, increases Melee Weapon Damage for each nearby enemy, up to 3 stacks.
Lv.1 Physical Damage +1.2%. Magic Damage +1.2%.
Lv.2 Physical Damage +2.4%. Magic Damage +2.4%.
Lv.3 Physical Damage +3.6%. Magic Damage +3.6%.
Lv.4 Physical Damage +4.8%. Magic Damage +4.8%.
Lv.5 Physical Damage +6%. Magic Damage +6%. Physical Damage per stack +2%. Magic Damage per stack +2%.
Lv.6 Physical Damage +7.2%. Magic Damage +7.2%. Physical Damage per stack +2%. Magic Damage per stack +2%.
Lv.7 Physical Damage +8.4%. Magic Damage +8.4%. Physical Damage per stack +2%. Magic Damage per stack +2%.
Just gives more damage as burst is not that good on PnS's low damage output. Interchangeable with resilience as stated previously.
Guide
Overview
This build is insanely good at applying constant pressure depending on matchups. If the enemy can't heal you are playing it right (Unless it's mercenary. More on that below.)
General Play style
As I've stated multiple times at this point this build really focuses on the aggressive shield dashing that you get from running the listed above talents along with the elusive affix. Wither Knight PnS is one of the best classes for chasing down enemies making it extremely strong into ranged classes. This class excels in confined battle areas. The less space your enemy has to move, the better for you. Id recommend going into the training grounds to the back right of the auction house and testing out the skills before reading any further. If you already know what the skills do feel free to keep reading about matchups.
Brief Skill Explanations
Wither Passive
The Wither Knight has a unique passive that applies a glowing blue mark to enemies under certain conditions. When this mark is detonated, the enemy takes a burst of extra damage. The ways the apply the mark with this build are by hiring them with 4 light attacks, using your breaker shield bash, and using your javelin thrust on them. They way you detonate your mark with this build is by bashing the enemy with your shield charge, by hitting them with your spear at the end of a stage 2 or 3 shield charge, and by jumping and pressing the block button mid air to do a shield ground spam.
Light Strike
This is your basic attack. It's a 3 hit combo of a spear thrust followed by a frontal swipe into another slower forward thrust. Since your weapon is a polearm it has decent range so the thrusts can be used to catch dashing enemies especially if they have the debuffs from Breaker Shield Bash.
Charged Dash
This is the main skill of PnS that makes it extremely strong in the right hands. You will want to be blocking vast majority of the time while fighting. What I'm going to explain only applies if you are using the talents listed above. While blocking you empower your shield overtime. There are 3 levels of charge that can be released by cancelling your block. 1st stage is a small dash forward followed by a shield bash. 2nd stage is similar to the 1st stage except it is followed up by a forward thrust from your spear. 3rd is the same as the second stage but with more damage and a longer range. In addition to gaining charges over time while blocking, you also gain one charge every time you use one of your skills and every time you dash while blocking. If you dash forward while blocking, you also briefly receive super armor making applying pressure with this class all the more insane and suppressing. Also remember when dashing forward you will deal a bit of damage and explode your wither mark even if you don't cancel your block and use your charges.
Javelin Thrust
This skill throws a javelin a short to medium distance that once it hits an enemy you will dash to them and your character will kick them in any direction you are looking. If the kicked opponent hits a wall, an object (I've noticed some don't work or are inconsistent so always aim for walls if possible), or another enemy (npc or player) they will be stunned. If they hit a wall and are stunned, you can aim at their head and use a basic attack or shield breaker thrust to get a free critical hit. If the enemy has a wither mark you can also use your shield bash to explode that instead. Finally if the wall is far enough away from you after you kick them into it you can do a jump into a shield slam to proc wither, knock them to the ground, and get a critical hit. This is the best method for damage if possible. You can also use the duration they are stunned to back off and heal if you are very low and they are not in kill range. Javelin thrust is very good at pressing when the enemy is healing since they become an easy target to hit while doing so. Be careful randomly using this skill as it is very telegraphed and slow making it easy to dodge. Most times wait until the enemy is stuck in an animation, healing, or has their back turned to you running away.
Intervene
This is your main mobility for disengaging but also has plenty of use as an engagement tool. It is a short dash that gives yourself and nearby allies a shield while doing a small burst of damage around you. This attack is also very good for following dashes and keeping up the constant pressure. This skill can also cancel enemies out of drinking their heals so don't spam this while fighting keep it for key moments to keep pressure up or disengaging. Do not use it for damage.
Shield Breaker Bash
This skill is extremely strong. It is a ranged attack that most people underestimate the range on. When you hit an enemy with it it applies a with mark, a slow, and a debuff that shortens their dash range. This is extremely good for being able to stick to your enemy and for slowing them while you back off as well. This skill can also be used to cancels heals at range. While you use this skill it also raises your shield blocking frontal damage. Be warned though it does not give super armor and and can still be cancelled.
Thorn Guide
This is the one greatsword skill we will use. I mainly use it to cancel heals if my polearm skill are on cooldown and I want to regain stamina for dashing. It is a long range pull that will bring enemies toward you allowing for free follow up attacks. Id almost always just light attack into a heavy attack with the greatsword after hitting this to immediately swap back into pole arm. Pole arm also give a flat defense boost while you hold it for those who didn't know. So even without blocking you will take less damage. This skill is also good for pulling people whose are trying to run away.
Matchups
Disclaimer I haven't played a lot of the classes so this is what I have gathered just by playing Withered Knight
Black Arrow
This matchup is pretty favorable. Try not to fight them in an open area and keep the battleground where you want it. Don't overly chase. Never put your shield down unless you are on top of them attacking or are behind cover and when you do decided to go on the offensive use your forward dash while blocking to charge full speed at them. Just watch out for their poison mushrooms and play defensively behind cover if they hit you with the barbed arrow that makes you take damage when you dash since that arrow hard counters our plan. Don't approach them if they have high ground as well. Other than that once you're on them jist don't let up the pre and keep that shield up as much as you can. Don't be afraid to back of and hide for a second to heal. They can't really chase you too well and it's always better to stay alive than die fighting.
Shadow Strix
Alot of their attacks are dashed so as long as you are blocking dash side ways to try and doge then punish them with a forward dash into them or one of your skills. They are extremely mobile so really no point in chasing them. They have a ton of burst so do not just let them smack your shield on repeat or they will break your guard and chunk you. There are not a lot of things to say hear other than avoid their hits and punish with your super armor dashes.
Sorcerer
If it's a stardust sorcerer all you really have to do is charge at them as long as they aren't in an advantageous place to fight. If you just keep chasing them and applying pressure there is not a ton they can do. Elemental sorcerers you may have to play a bit slower into. Their fire ball attacks do true damage and hit super hard even while blocking so it's okay to play it slower and dodge their attacks and punish their misses. Treat them like a black archer kind of except instead of just running straight at them dodge their attacks while slowing gaining ground.
Seer
Seer is a bit annoying to deal with sometimes but it's winnable. For ranged seer keep up pressure and use your forward stage 2 and 3 charges to destroy their totems. They don't have a lot of tools for chasing and have fairly low damage so going in for a trade before backing off and healing a bit is not too risky. However mace seer is very annoying. Most of them run blessing affix which makes their super armor last longer and super armor is PnS's main counter. Best thing you can do while fighting a mace seer is wait for their super armor to wear out before going on the full offense. Use dashes to dodge back, but if they manage to get onto you you can always use your shield bashes into them to briefly stun both of you. While healing against them be careful of their pull ability so try and break line of sight with them before healing if possible. This is mainly a skill matchup and will take time and practice to learn.
Mercanary
This is the #1 counter to Wither Knights. If you can avoid fighting them if possible since they are really hard to beat unless they suck or you are the goat. If you do have to fight either hammer or sword and shield never take the offensive. Play the fights super slow and let them make the 1st move and punish misses. You might be able to run even since they aren't super mobile. Hammer is super slow so if you do want to fight be patient with your dodges and use your I-frames to your advantage. Never try and block a hammer attack with your shield as it will absolutely destroy you and/or your block. A good hammer is hard to beat but their is a split second after they attack and miss where they don't have super armor. Use that short frame to try and counter attack with a short trade. For sword and shield do the same thing basically. Wait for them to go in and dodge and try and do a quick counter trade before they can parry. Parrying is super OP right now and one or two parrys can decide a fight so don't use your ranged attacks unless they are healing basically. Trading with short light combos is your best bet or quick shield bashes after dodging or blocking their attacks. If they dash at you with a skill you can forward dash into them with your super armor. This matchup is extremely hard especially into a good merc so good luck.
Wither Knight
Into a mirror match PnS I feel like it's usually the 1st person to shield bash loses. Just be patient and wait for them to go in and use your super armor to counter their engage. Don't attack them while they are blocking unless you can hit their side or back or are dashing into them but not releasing your charges. For GS just play aggressively and play around their parry. If they parry your attack immediately block and dodge back and once they counter attack just dash back forward into them. I've found that they cant keep up with your mobility and pressure if you play it right as long as you don't let them breakthrough you and hit you from the side or behind you should be fine.
Thank you for reading my guide! I may or may not update this more in the future, but if you like it and it was helpful then upvote it and follow me on twitch where I will at some point stream this game. Thanks again!
Comments (0)
Got thoughts on this build?
Sign in to join the conversation.
No comments yet. Be the first to share your thoughts!

Contents