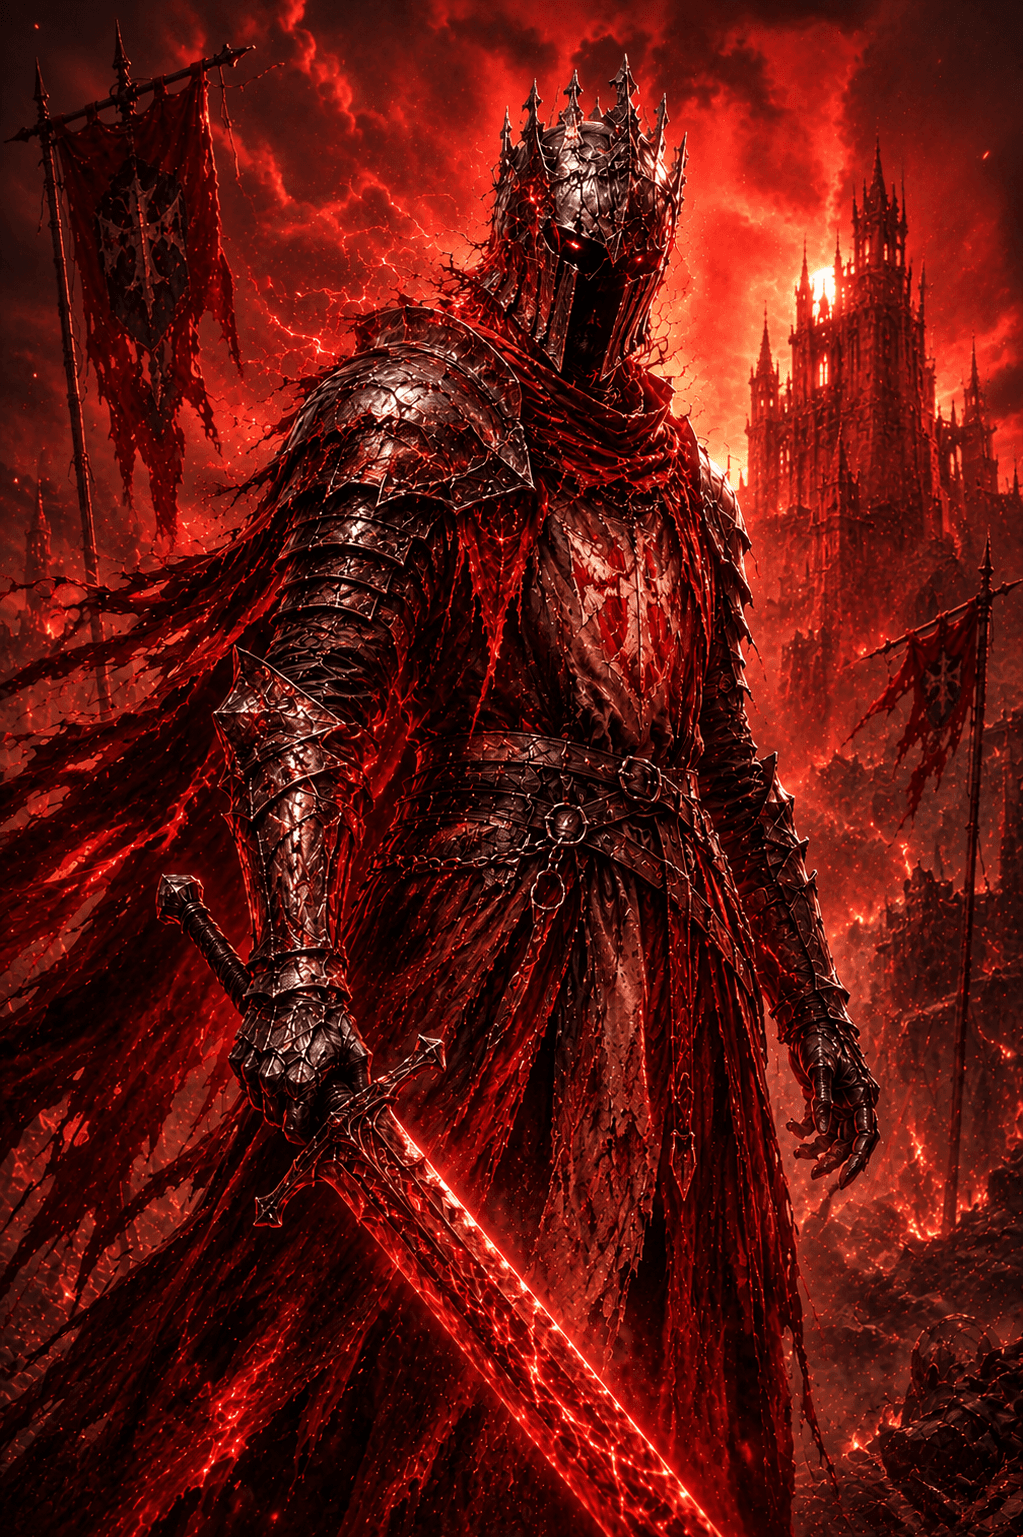
 Withered KnightSoloUp to Date
BASH THEIR HEAD IN
aggressive WK build, high risk high reward, SHIELD WALL SLAM AND EXECUTE FOCUSED
Item Set Import Codes
Skills
Greatsword
Basic
 Light Strike
Light Strike: three-hit combo; each hit charges your weapon. When fully charged, the weapon enters Judgment. The next light strike will apply Wither to the enemy.
 Heavy Strike
Heavy Strike: turn and thrust your weapon upward. Can be charged to release: dash forward and strike twice. All heavy strikes can execute Wither you've applied.
 Opportunistic Thrust
After dodging, immediately use the button to branch into a light strike: dash forward slightly while swinging your sword to attack.
 Sprinting Slash
After dodging forward, immediately use the button to branch into a heavy strike: leap forward while spinning to swing your weapon. After dodging backward, immediately use the button to branch into a heavy strike: perform a counterattack while stepping back. Both heavy strike branches can execute enemies affected by Wither.
 Pursuit
After any heavy strike, you can use the button to branch into a light strike: rapidly swing your weapon to perform two slashes.
Selected Skills
 Breakthrough Charge
Can perform a two-stage dash attack. Stage 1: Thrust forward with your sword. During the recovery, press the buttons to perform a branch attack (second stage). Stage 2 Left Branch: Dash in a leftward arc, sweeping enemies and knocking them back to the right. Stage 2 Right Branch: Dash in a rightward arc, sweeping enemies and knocking them back to the left.
Polearm and Shield
Basic
 Light Strike
Alternate between spear thrusts and horizontal sweeps. Each hit charges your weapon. When fully charged, the weapon enters Judgment. The next light strike will apply Wither to the enemy.
 Charged Dash
Raise your shield to block frontal attacks. You can hold to maintain the shield stance while charging the skill up to 3 levels, before initiating a forward dash attack. Lv.1 Charge: Dash forward with your shield raised to ram enemies. Lv.2 Charge: Gain Super Armor; increase the dash distance and follow up with an additional thrust. Lv.3 Charge: Gain Super Armor; increase the dash distance and follow up with a more powerful leaping thrust.
Selected Skills
 Rainbow Piercer
Raise your shield and charge forward, followed by a violent spear thrust. You can hold the skill to prolong the forward charge, during which turning capacity is significantly reduced. Possesses a Block property while the shield is raised. Successful hits charge your weapon with Judgment energy.
 Spear Barrage
Rapidly thrust your spear forward, following up with a powerful thrust that knocks the enemy down. Successful hits charge your weapon with Judgment energy.
 Javelin Thrust
Hurl your spear forward, immediately applying Wither to the target. Upon impact, rapidly leap to the target and pull out the spear with a sweeping strike to deal damage.
Talents
Affixes
you will constantly be dodging, either to build charges or for hitting someone
this build is very energy hungry , between blocking and rainbow piercer you need to be careful, this just adds some extra breathing room
(optional) this i havent fully tested this but since i block so much i figured why not make it so i can do it more often and take no dmg
(optional) extra hp on a melee is always probably a good idea
you will apply withered very often, this is where a good chunk of your damage comes from ( ESPECIALLY WITH CHARGE LVL 3) AND SHIELD WALL SLAM (LVL 3 TALENT)
Guide
This is a very aggressive playstyle, it is very energy and dodge hungry so you need to make sure everything you do counts.
the idea is constant pressure using evades to attack while building up your charges, then at lvl 3 shield wall slam you unleash your burst.
shield wall slam (evading while shield is up) can execute your withered mark so theres always some damage threat
COMBOS
1. javelin thrust is going to be your main source of cc, AND THE SETUP FOR YOUR MAIN COMBO
JAVELIN THRUST STUN (INTO A WALL OR ANOTHER ENTITY) INTO JUMP SHIELD SLAM, THIS COMBO IS ALMOST GUARANTEED DEPENDING ON PING, ITS ALMOST ALWAYS A CRIT SO THIS COMBO IS YOUR MAIN WAY TO GET RELIABLE DMG.
WHY THIS COMBO? BECAUSE IT DOES GOOD DAMAGE, AND IS LOWER IN ENERGY COST
2.CHARGED DASH LVL 3, THIS ON ITS OWN DOES HIGH DMG, 2ND PART OF COMBO CRITS ALOT OF THE TIME, THIS PAIRED WITH WITHERED MARK DOES VERY NICE BURST AND TENDS TO CAUSE PEOPLE TO PANIC, most of the time people will breakaway which gives you a chance to react
spear barrage is there for zoning and killing pve a little faster, as well as marking enemies more often, it also causes a knockdown which is every useful if someone has no more dodges
RAINBOW PIERCER IS SITUATIONAL, its very high energy cost, BUT IT CAN LITERALLY GUARANTEE A KILL WITH NO COUNTER. the 2nd talent makes it so that the enemy CAN NOT BREAKAWAY WHILE THEY ARE BEING CARRIED AND ALWAYS GET HIT WITH THE ENDING STAB. even though the damage tick is low damage its guaranteed . the ending stab is ok but the main reason i use this is to kill targets that are already low so they cant dodge out.
this can be a powerful tool to displace someone, but because of the high energy cost YOU NEED TO BE CAREFUL USING THIS, IF YOU RUN OUT OF ENERGY YOU WILL TAKE ALOT OF DAMAGE OR EVEN JUST STRAIGHT UP DIE
in trios this can also kidnap someone and get them away from their team which
IF YOU DO NOT LIKE RAINBOW PIERCER, INTERVENE CAN BE USED INSTEAD TO KEEP UP PLEASURE AND GIVE YOU MORE MOBILITY.
WEAKNESSES - clashing with other heavy armor moves really hurts because it stops one of you main combos and you waste energy and sometimes even dodges
black arrow is a pain in the ass, especially if it lands the arrow that hurts you when you dodge, its basically gg at this point since this build is heavily dodge focused
so far those are the biggest issues i have
I enjoy this playstyle, there might be other affixes you think are better, thats cool. im new to the game and i dont know everything lol
Comments (0)
Got thoughts on this build?
Sign in to join the conversation.
No comments yet. Be the first to share your thoughts!

Contents